

Prerequisites
- A Tenbyte account — Sign up
- An origin URL that responds to HTTPS (your website, S3 bucket, or custom server)
- An API token if you plan to script things — generate one in Organization → API Keys
curl(bundled with macOS / Linux / WSL)
Architecture at a glance
1. Open the CDN workspace
Sign in, then pick CDN from the left sidebar.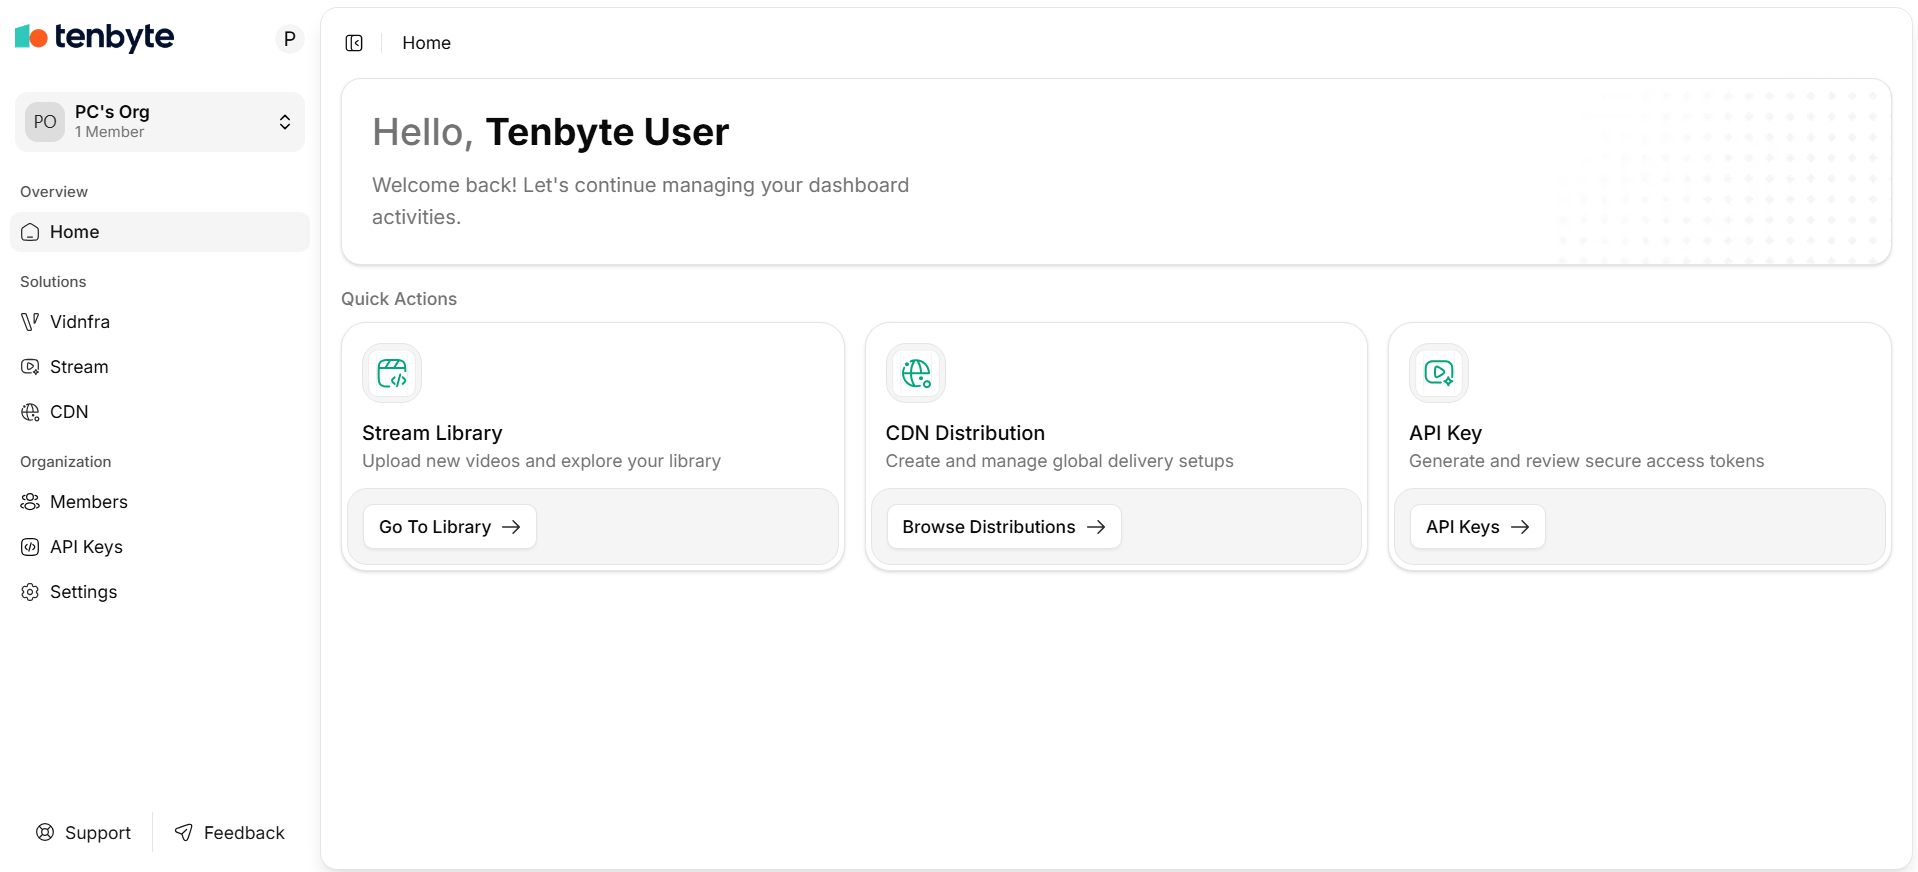
Tenbyte Dashboard
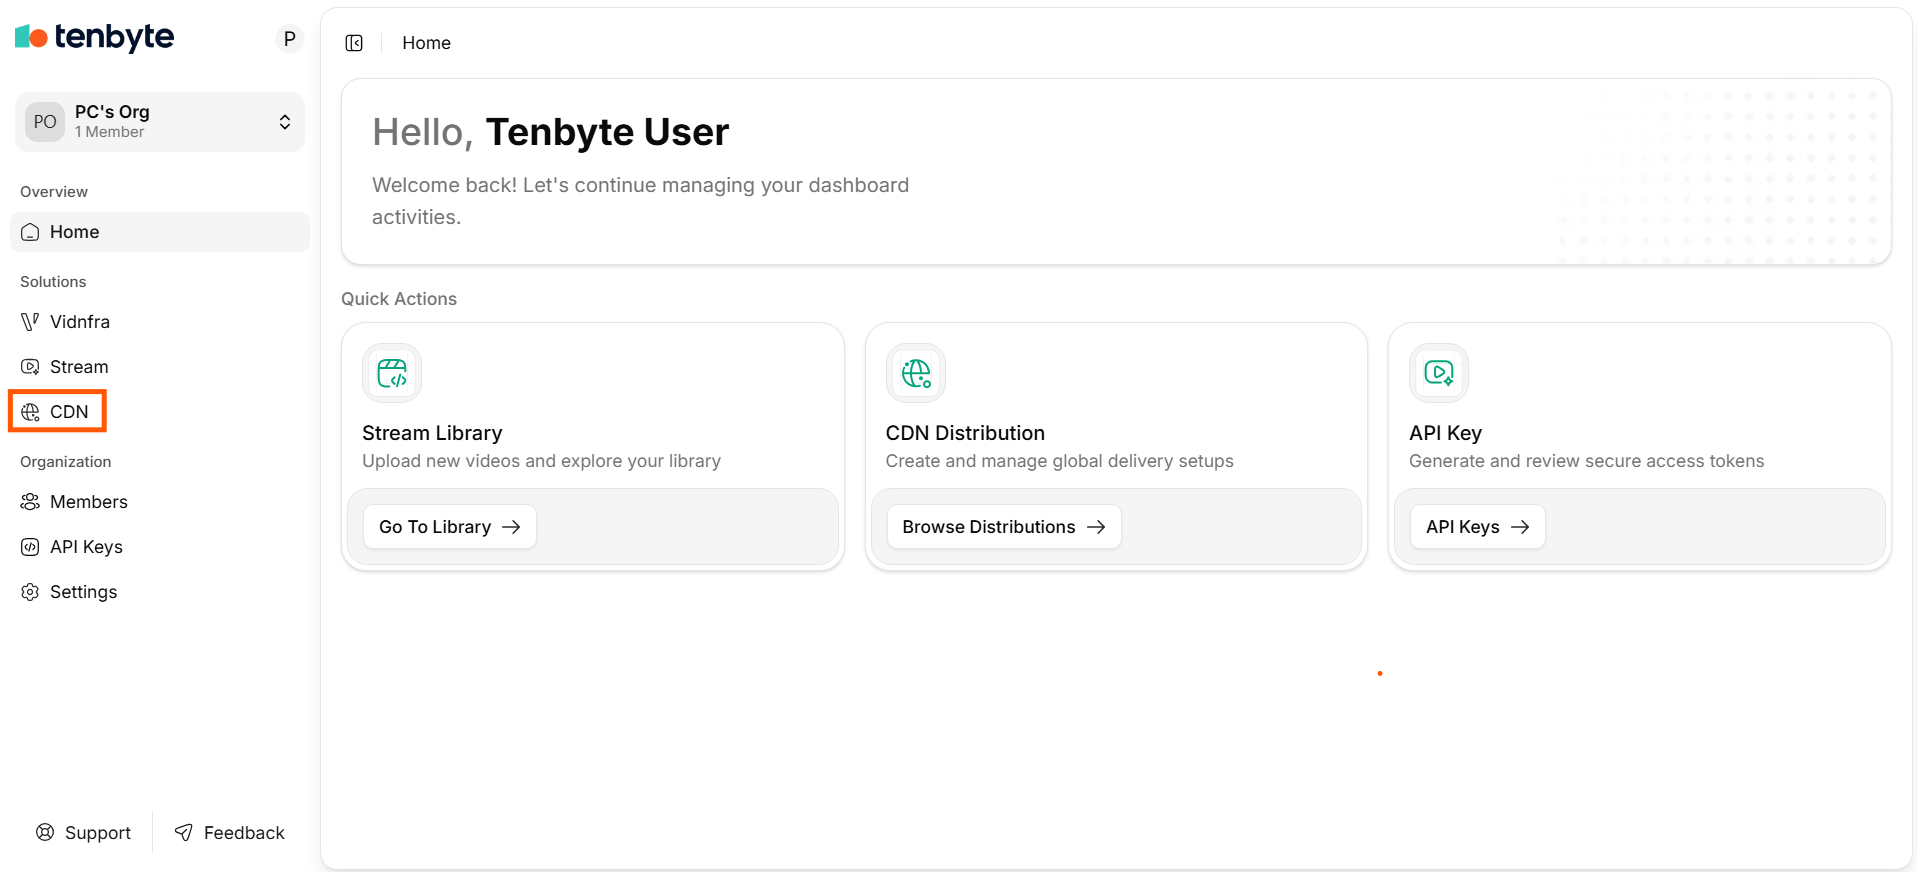
Select CDN from Dashboard
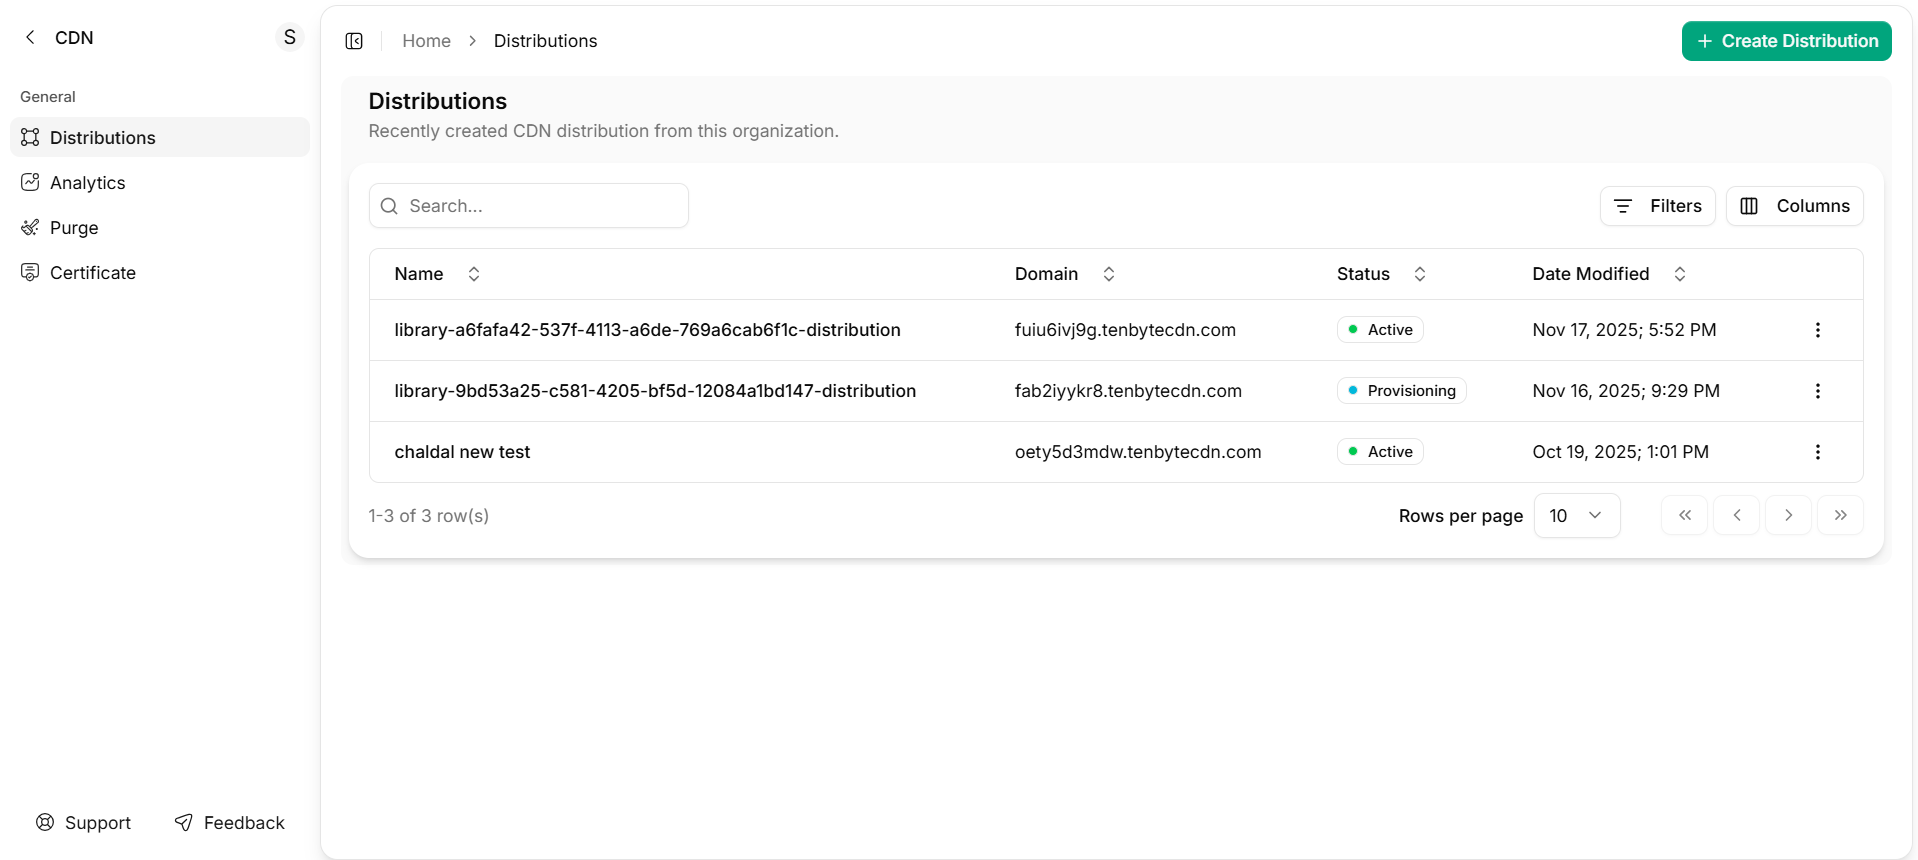
Manage your Distribution
2. Create a distribution
Walk through Create distribution to point at your origin. Once active, the console shows a distribution hostname likeyour-distribution.tenbytecdn.com.
Save it to your shell so the snippets below work as-is:
3. Verify the edge with curl
First request — expectMISS (origin fetch):
HIT (served from cache):
MISS repeatedly, jump to Cache rules — the origin is probably sending Cache-Control: no-store or private.
4. Add cache, header, and access rules
5. Automate via the API
All console operations also live in the CDN API. Drop these into CI/CD or a deploy script.Endpoint paths shown here mirror the CDN API reference. Always check the reference for the exact shape — it is the source of truth.
What “done” looks like
-
curl -IreturnsHTTP/2 200from the distribution hostname. - Repeat requests show
x-cache: HIT. - DNS for your custom domain (if any) points at the distribution CNAME.
- SSL certificate is Active in the console.
- You can purge a path via the API and watch the next request return
MISS.
Next steps
- Cache rules — fine-tune TTLs and query-string handling.
- Token authentication — sign URLs for protected media.
- Image optimization — resize, convert, and compress on the fly.
- Analytics — bandwidth, cache-hit ratio, response classes.
- FAQs — quick answers for ops and billing questions.