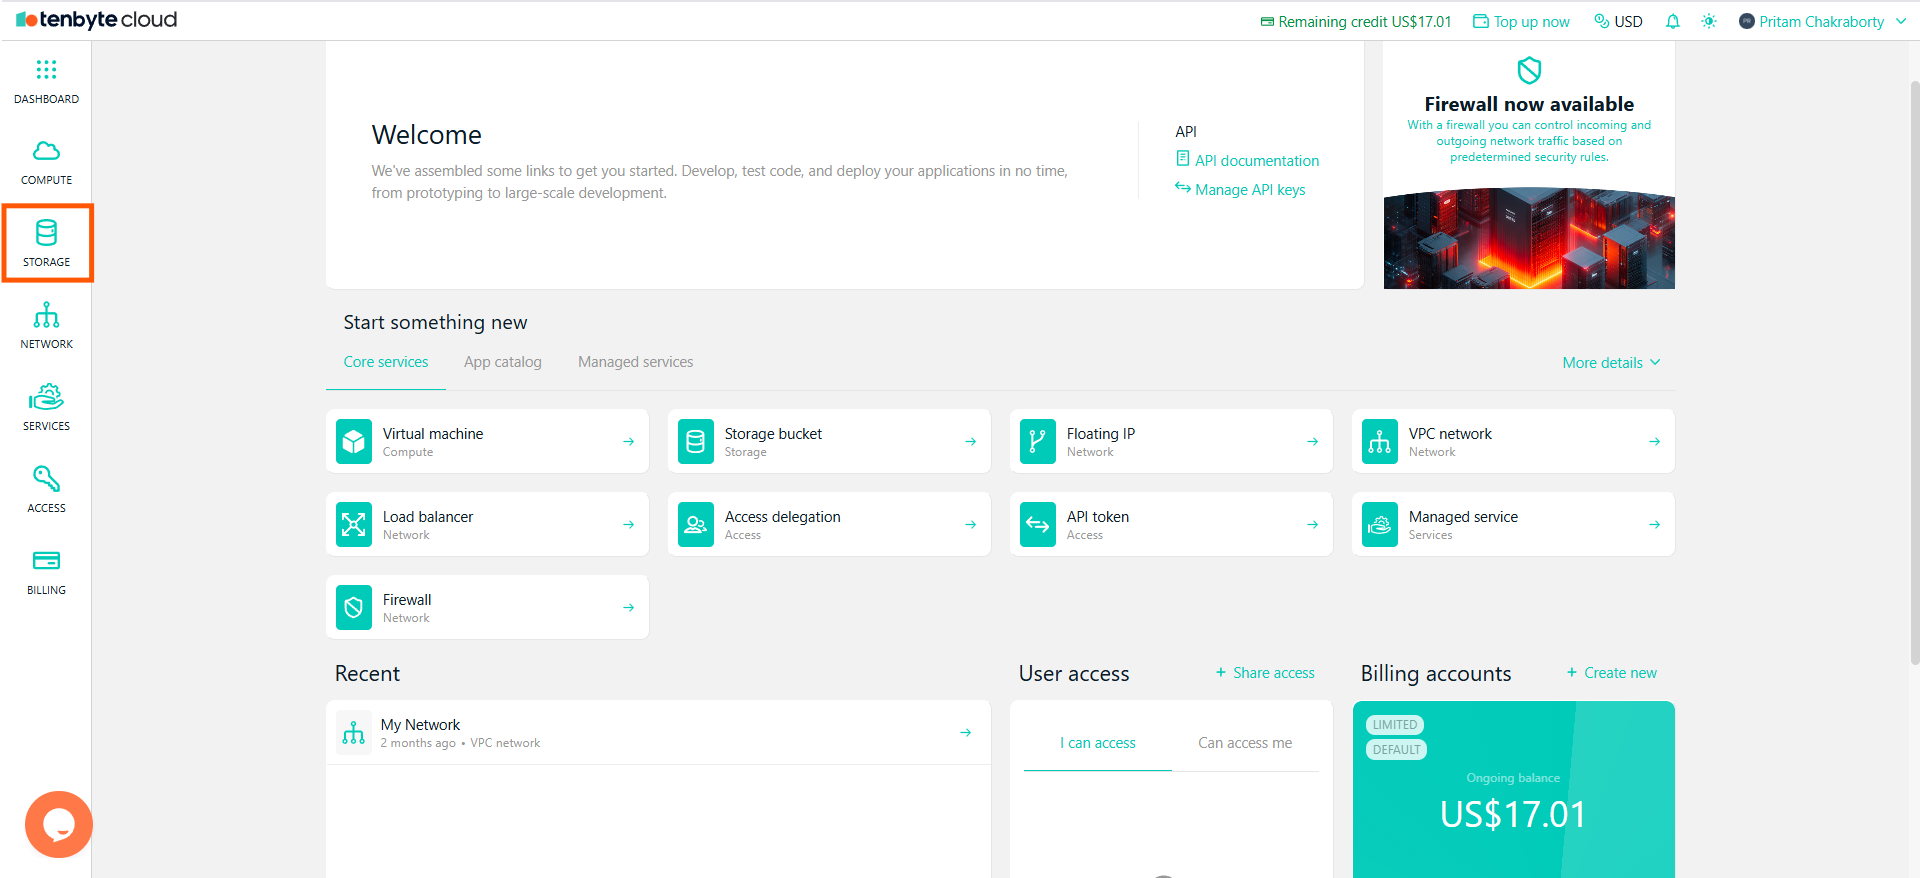
Open the Storage Section
- From the left sidebar, click Storage.
-
If you haven’t created any buckets yet, the page will appear empty.
Open the Storage Section
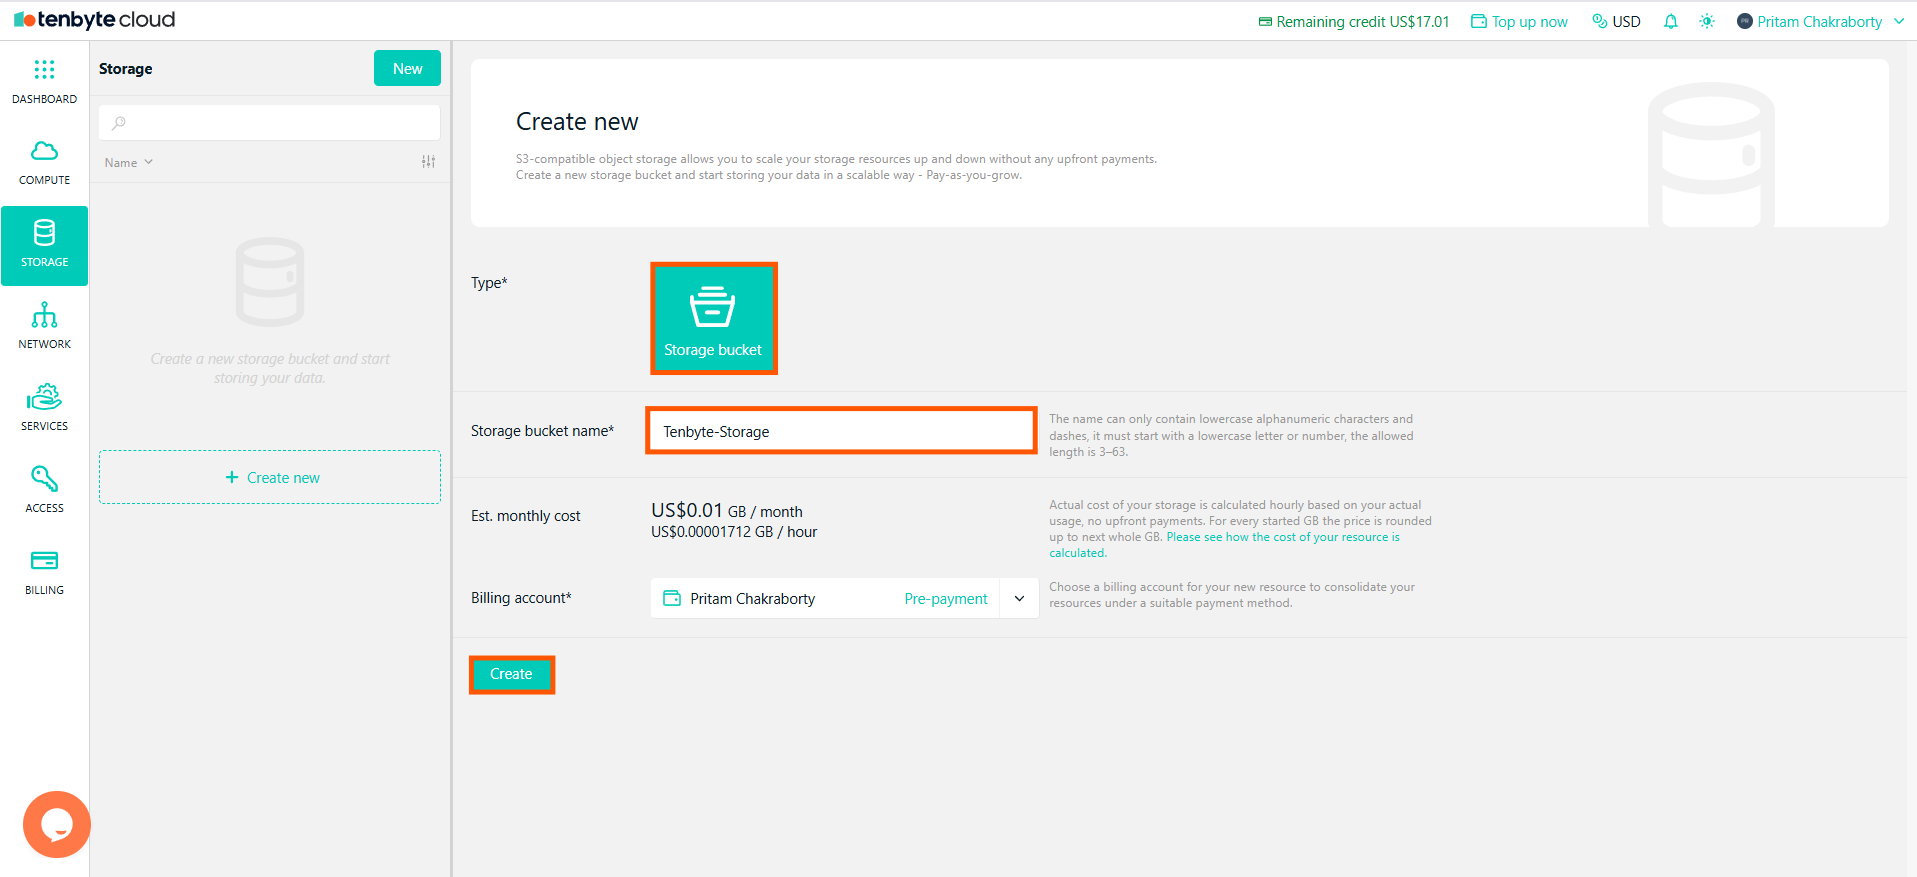
Create a New Storage Bucket
- Click Create new.
- Select Storage bucket as the resource type.
-
Enter a name for your bucket.
Create a New Storage Bucket
- Select a billing account.
- Click Create.
- Your bucket will appear in the Storage list immediately after creation.
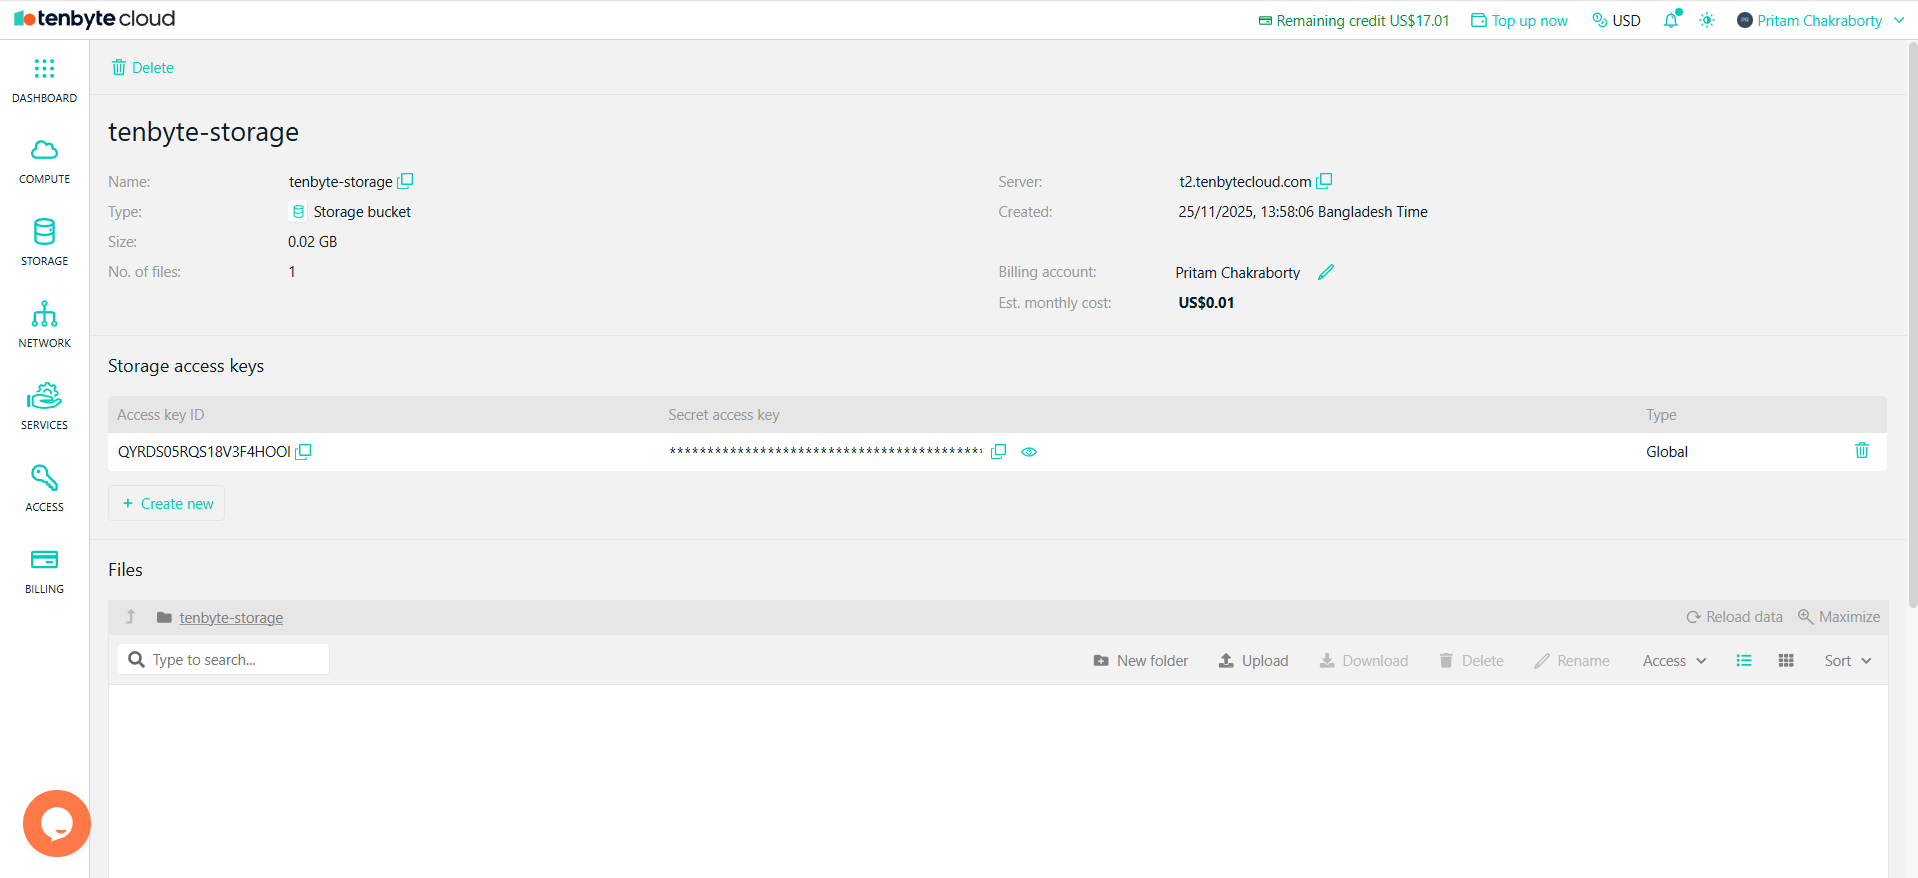
View Bucket Details
-
Click the bucket name to open its details page.
View Bucket Details
-
You will also see a section for Storage access keys:
- Access key ID
- Secret access key
- Type: Global / Restricted
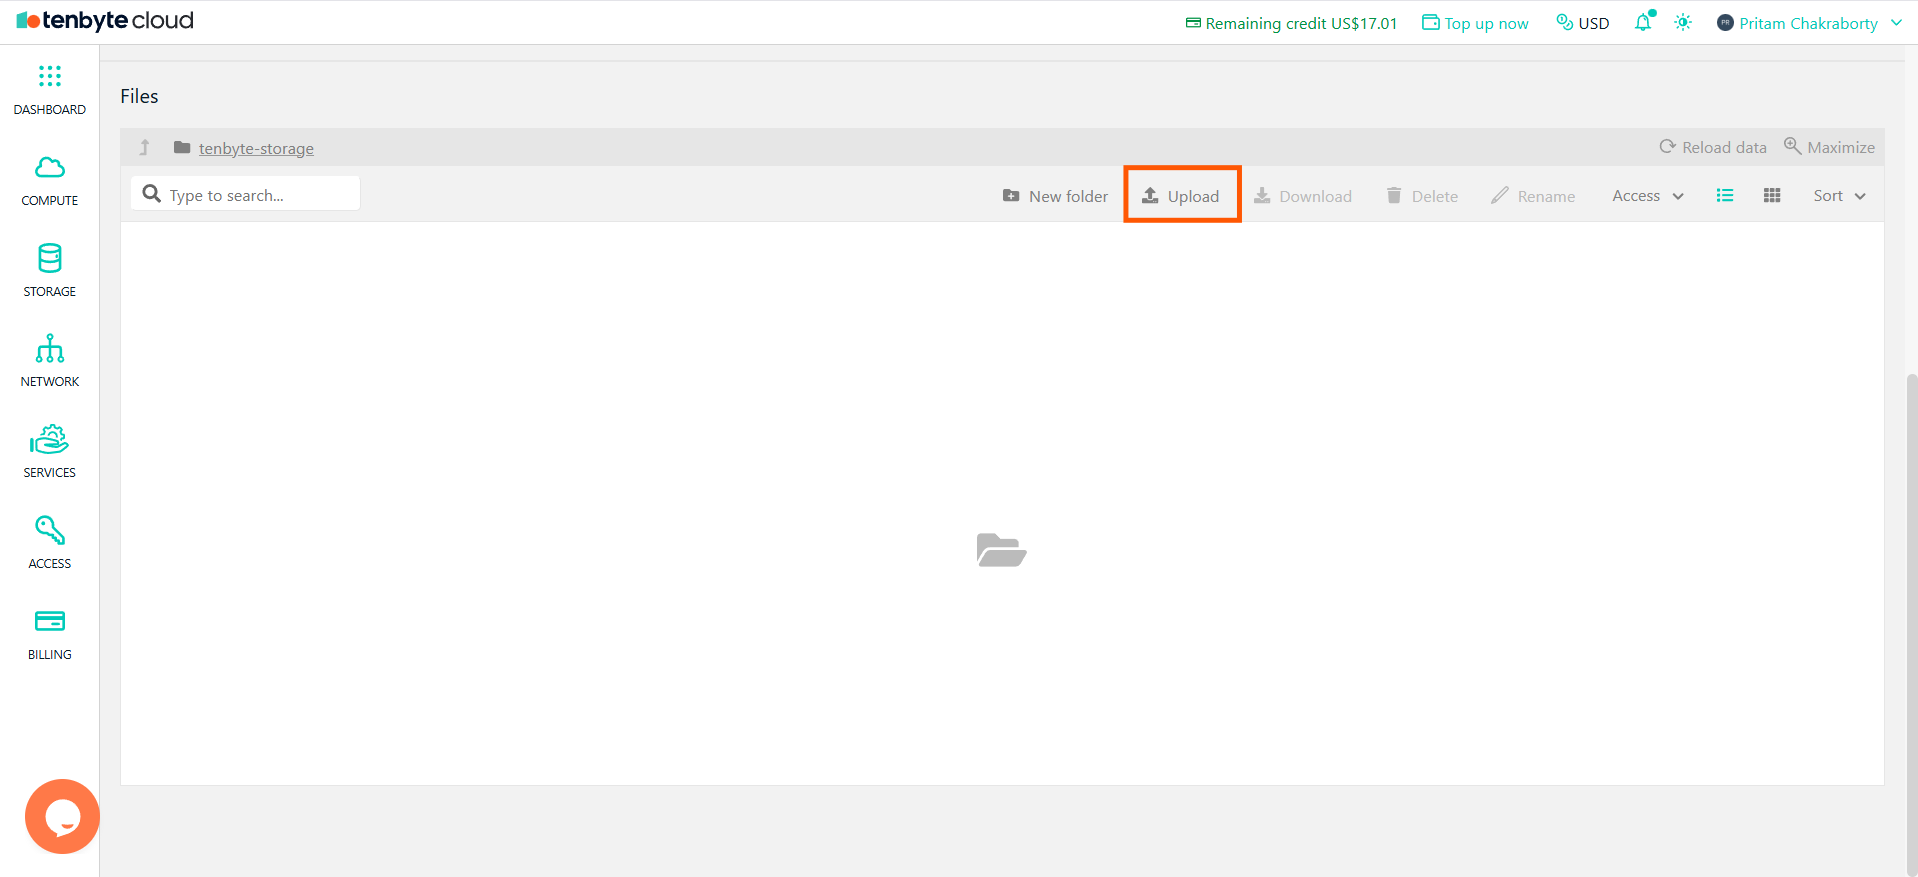
Upload Files to your Bucket
Inside the bucket, scroll down to the Files section. You can Create folders, Upload files, Download files, Delete files, and Rename files.-
To upload a file Click Upload.
Upload Files to Your Bucket
- Choose any file from your device.
-
Once the upload completes, the file will appear in the list.
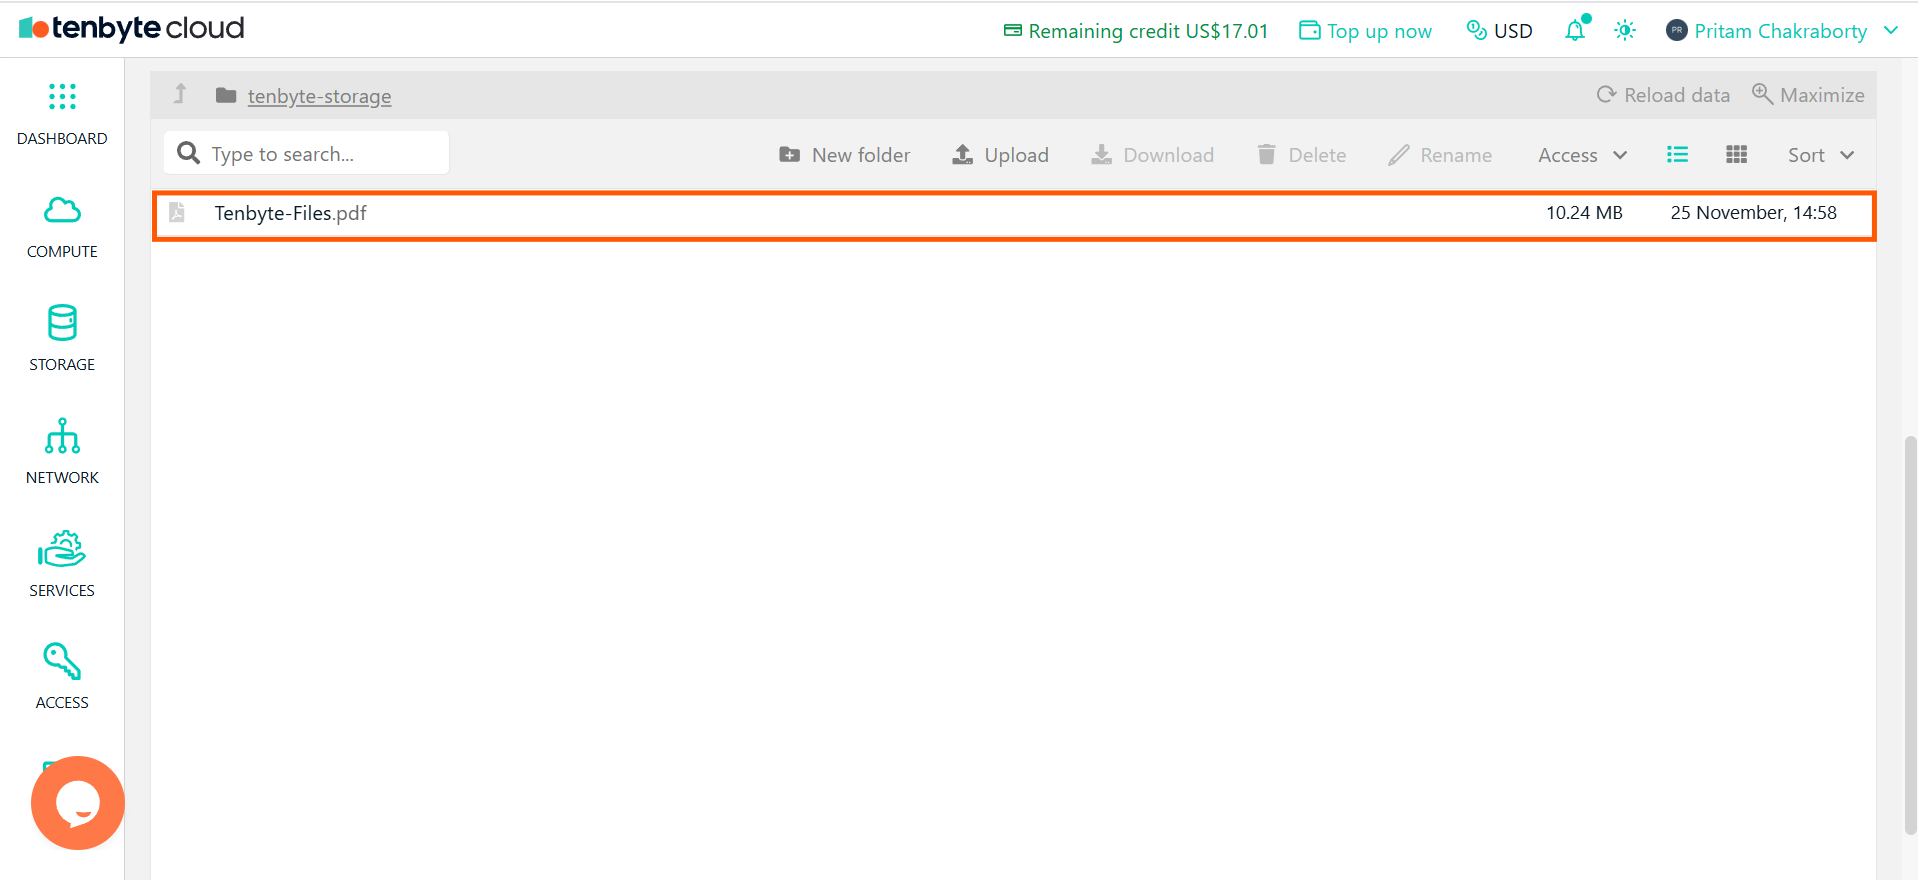
Uploaded Files List
File Access Controls
-
Select a file, then open the Access menu from the right side of the row.
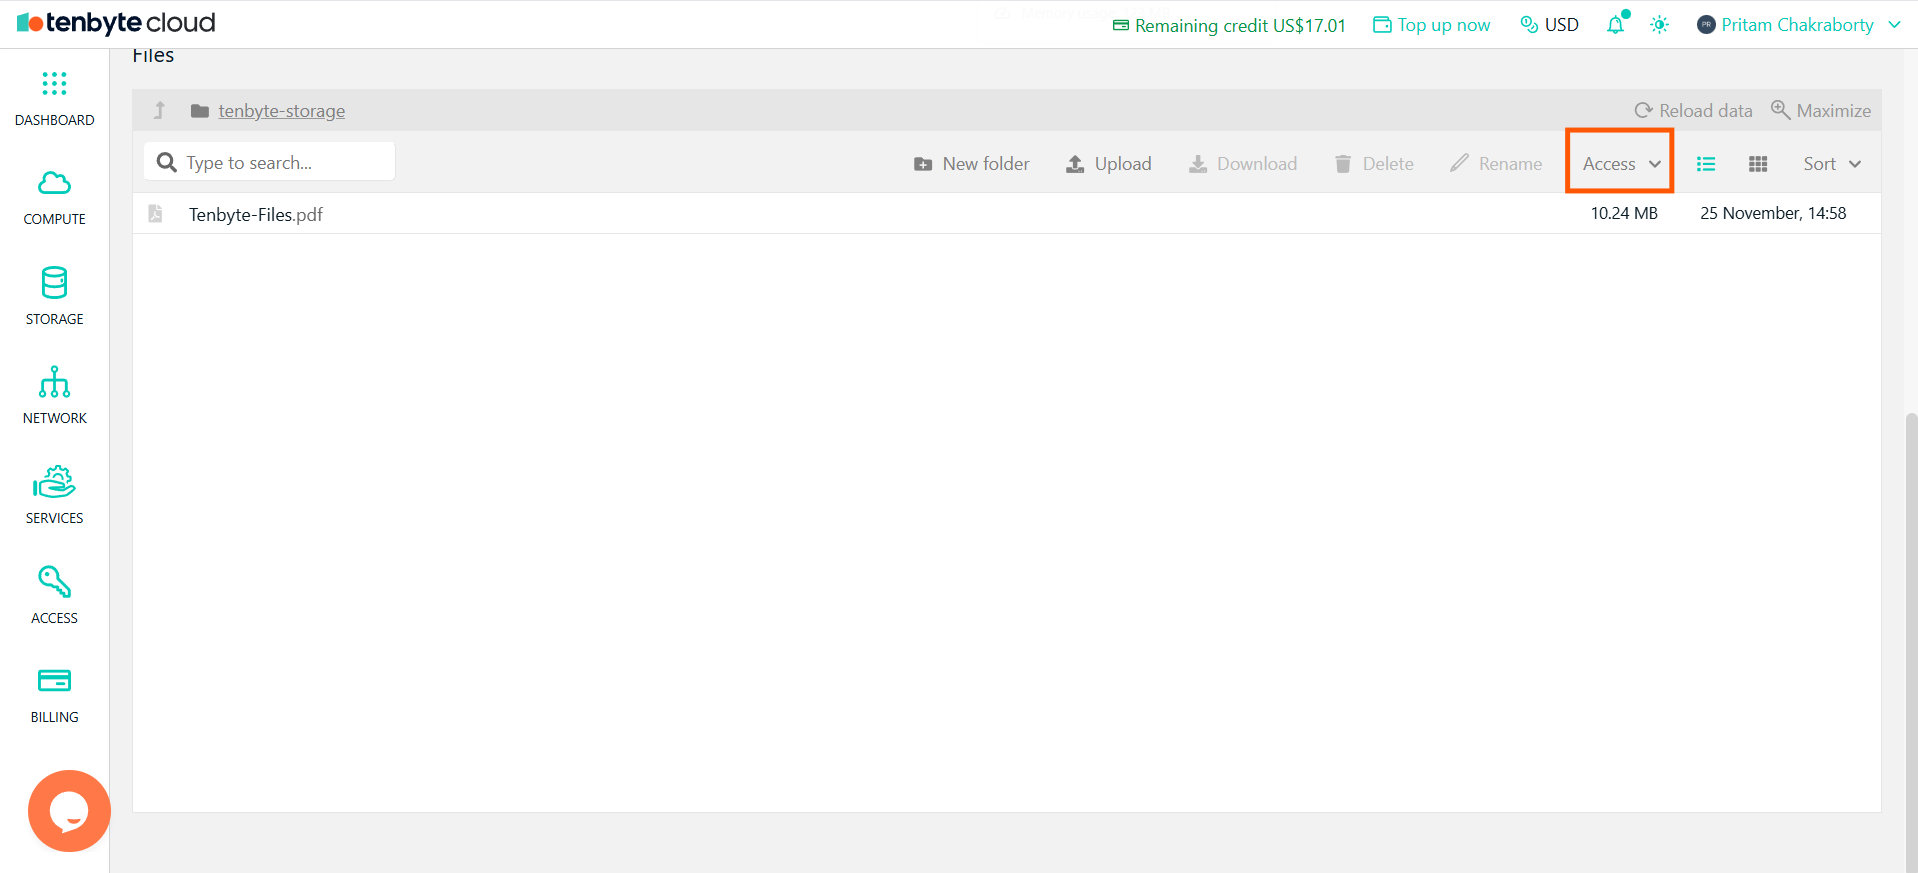
File Access Controls
-
You will see three options:
- Share temporarily
- Permissions
- Copy Public URL
Share temporarily
-
Generates a temporary link that expires after a chosen duration.
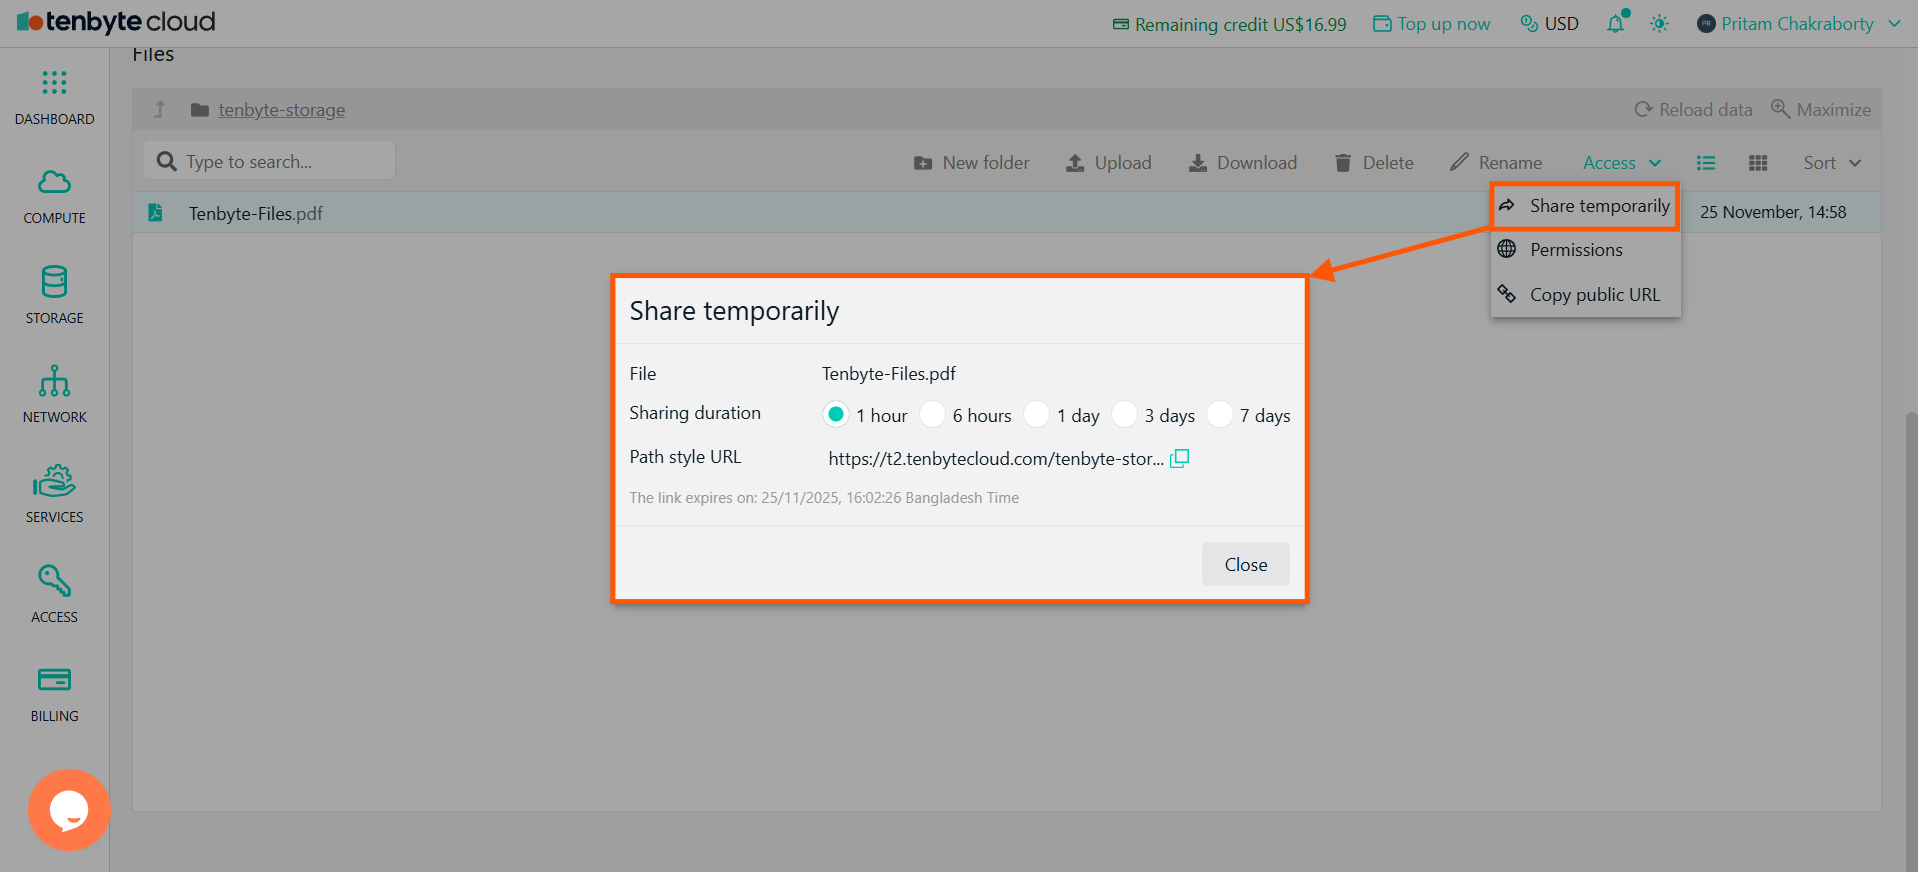
Access Control- Share temporarily
- Click Share temporarily and select a duration.
- A temporary URL is generated.
- Copy and share the URL.
- The link expires automatically on the displayed time.
Permissions
-
This controls whether your file is Private or Public.
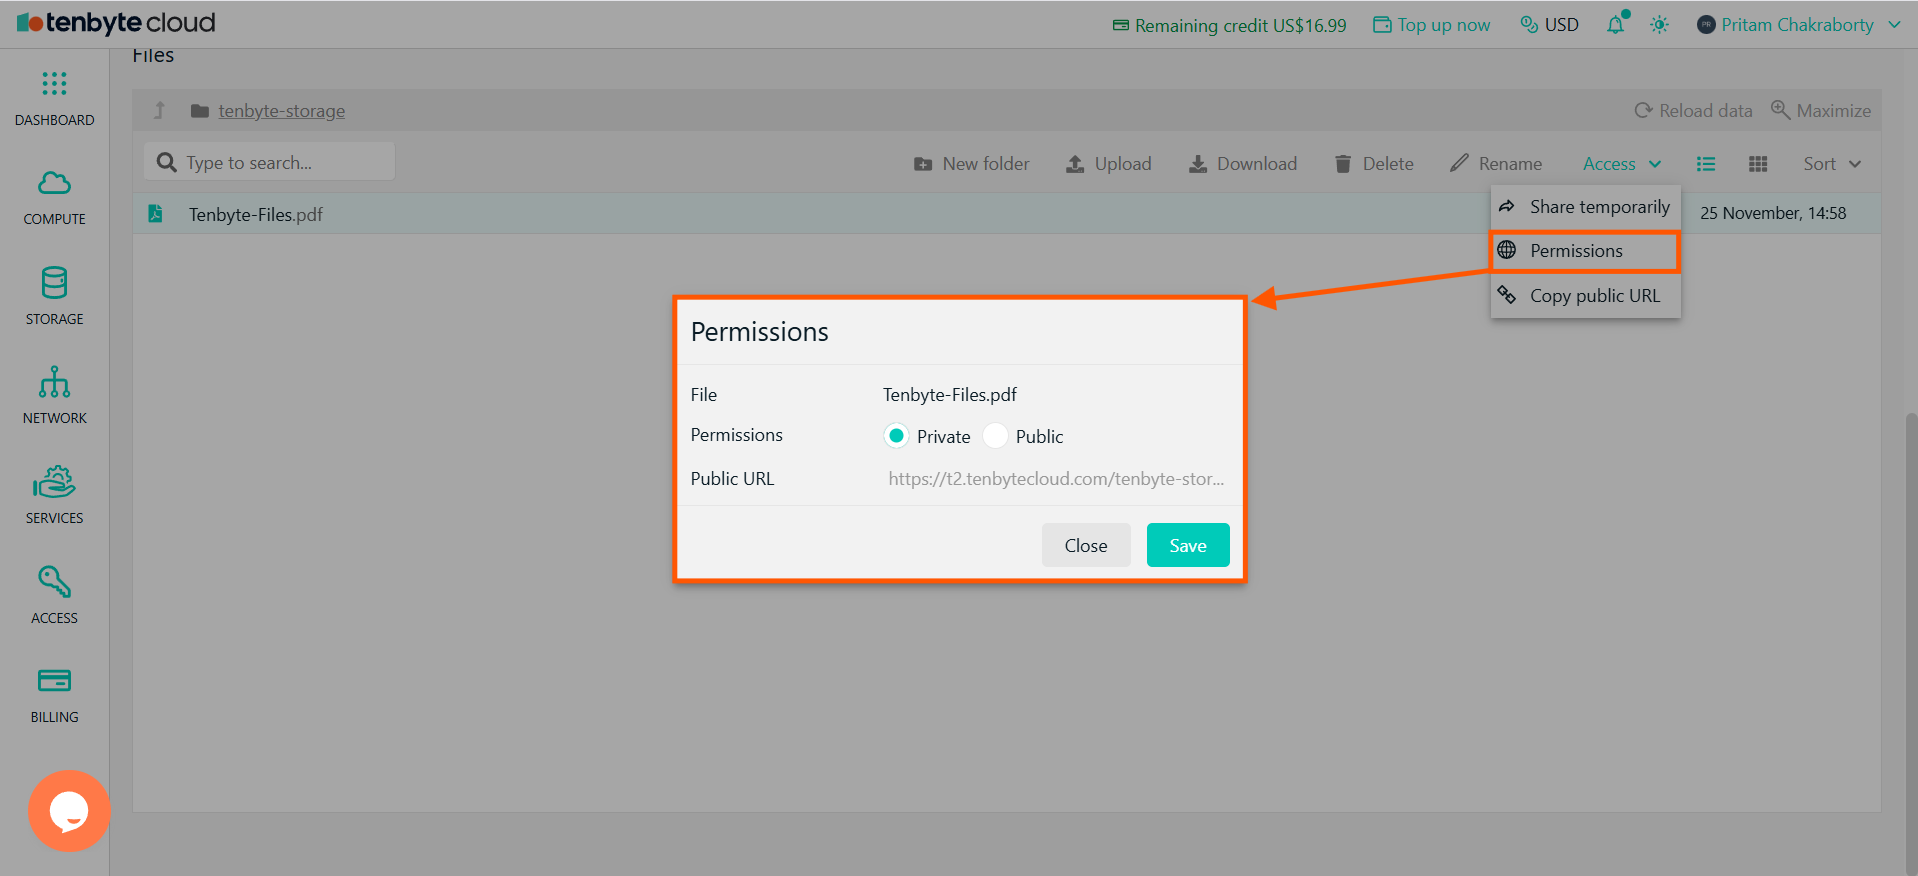
Access Control- Permissions
- Private (default)
- File can only be accessed using access keys or bucket permissions.
- No public URL is available
- Public
- Anyone can open the file using the public link.
- No authentication required.
- Click Save after choosing the desired permission.
Copy Public URL
-
If the file is already Public, the system will provide a usable URL that you can copy with one click.
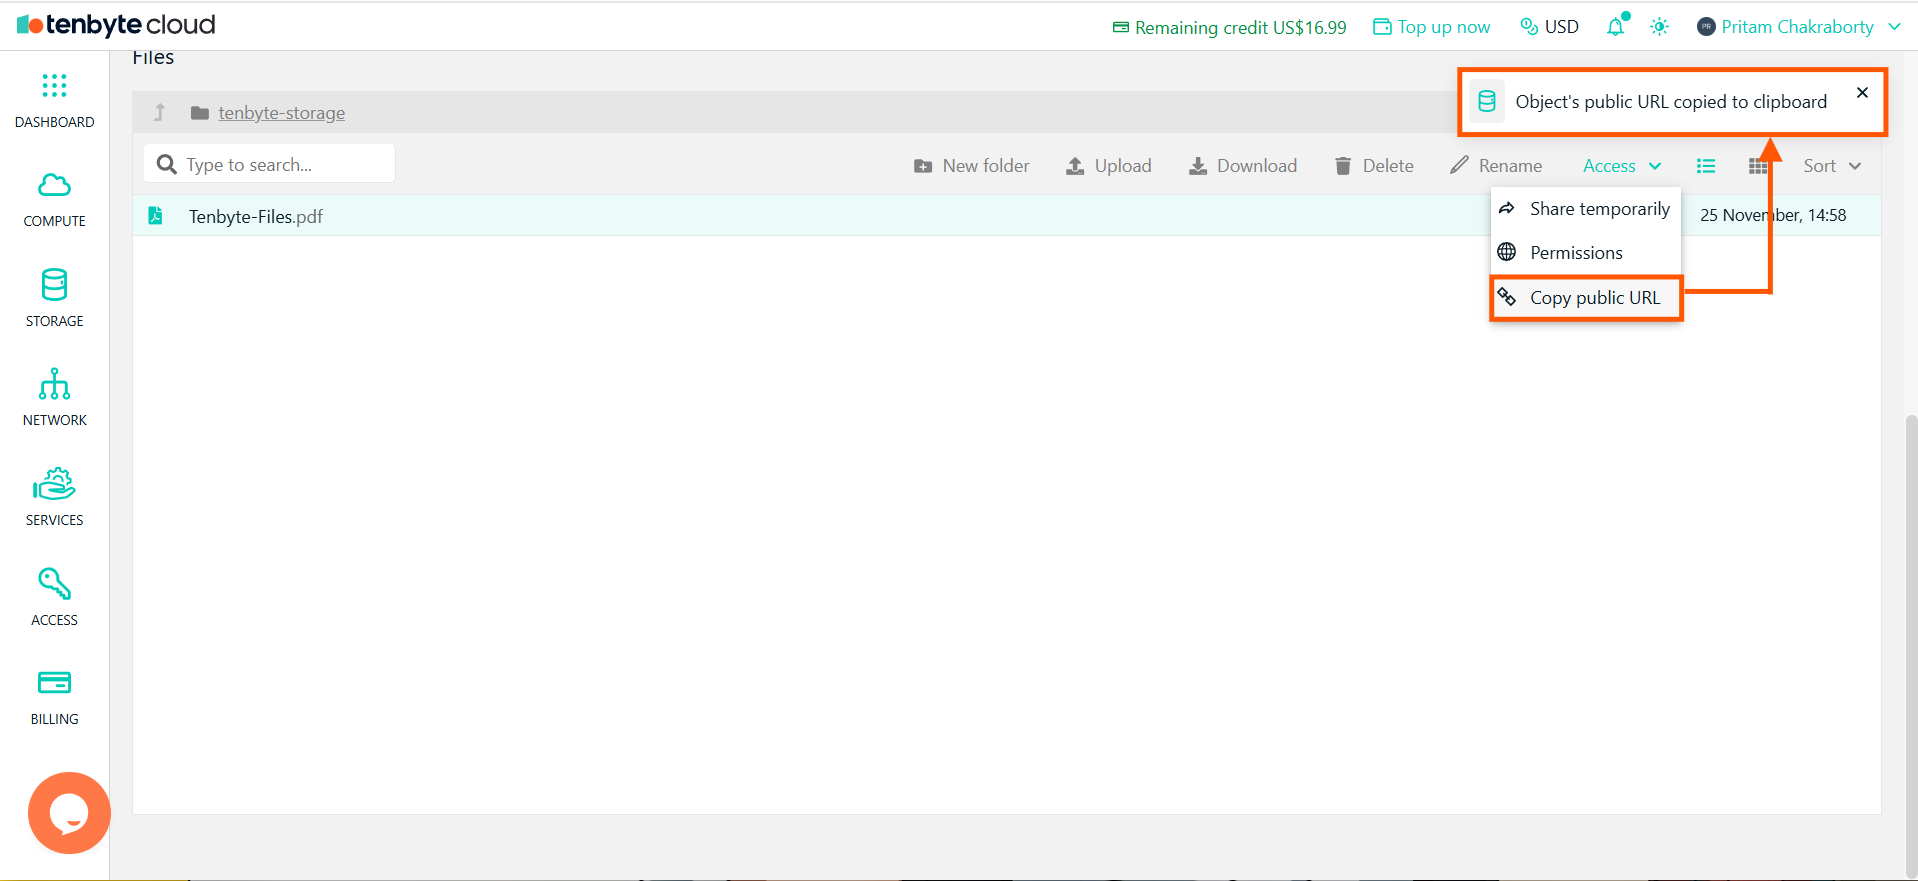
Access Control- Copy Public URL