Prerequisites
Before starting, make sure you have:- A Tenbyte account — Sign up
- A video file ready to upload (e.g.
.mp4,.mov,.mkv) - An API key with
assets:writepermission
Set Up Your Vidinfra Workspace
-
After signing in with your registered email and password, you will see a welcome page.
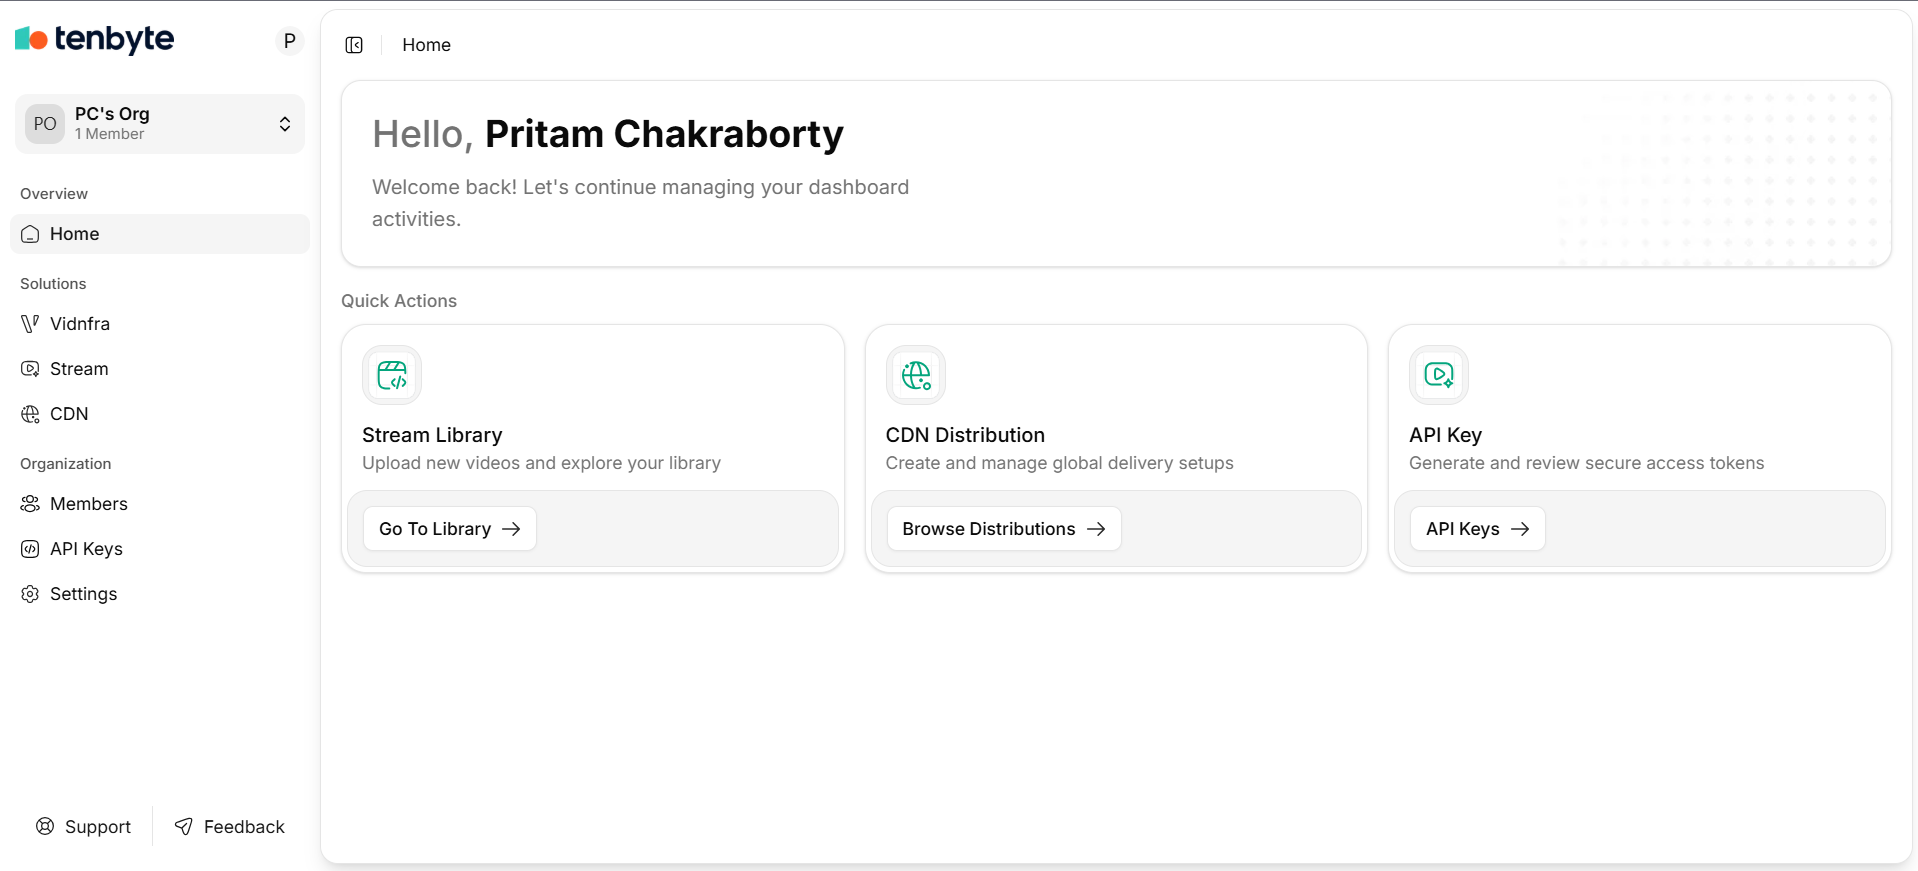
Vidinfra Dashboard
- From the left sidebar, select Vidinfra to open the Vidinfra workspace.
-
Click on New Library to start building your content library for video storage and management.
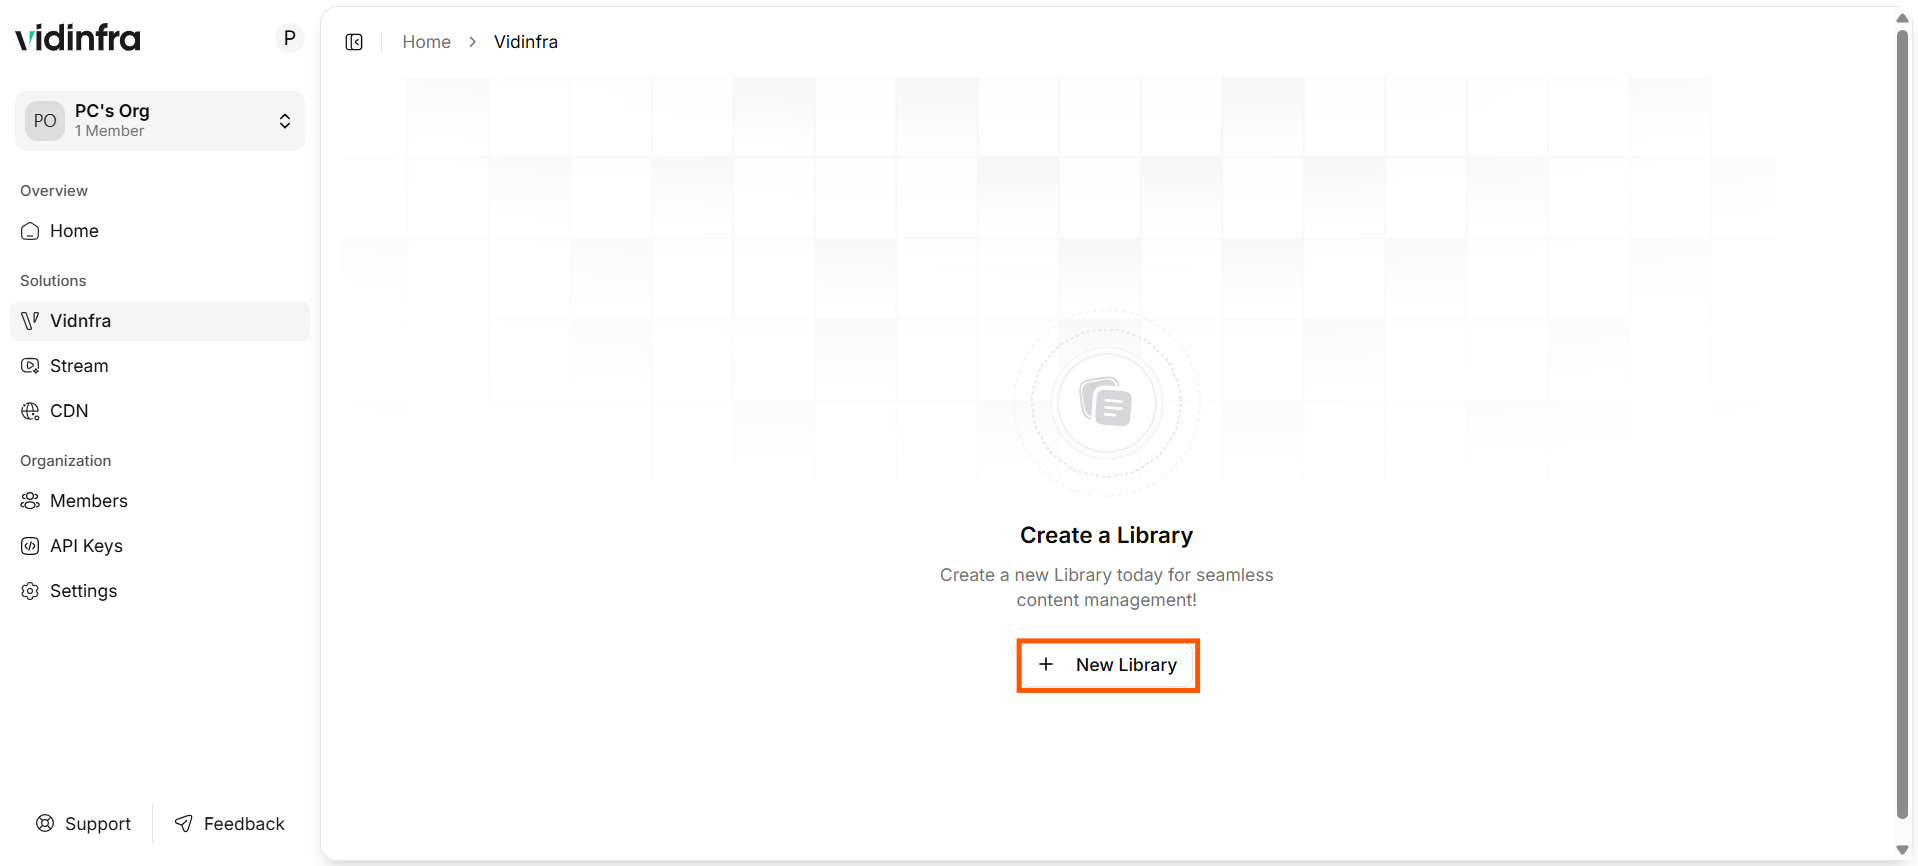
Library Workspace
-
Fill in the required fields with your information, including the library name, region, and purpose of the library, then click Create Library to continue.

Create Video Library
Choose your preferred region to ensure the best performance and streaming quality. -
Once the library is created successfully, your workspace will display the video dashboard.
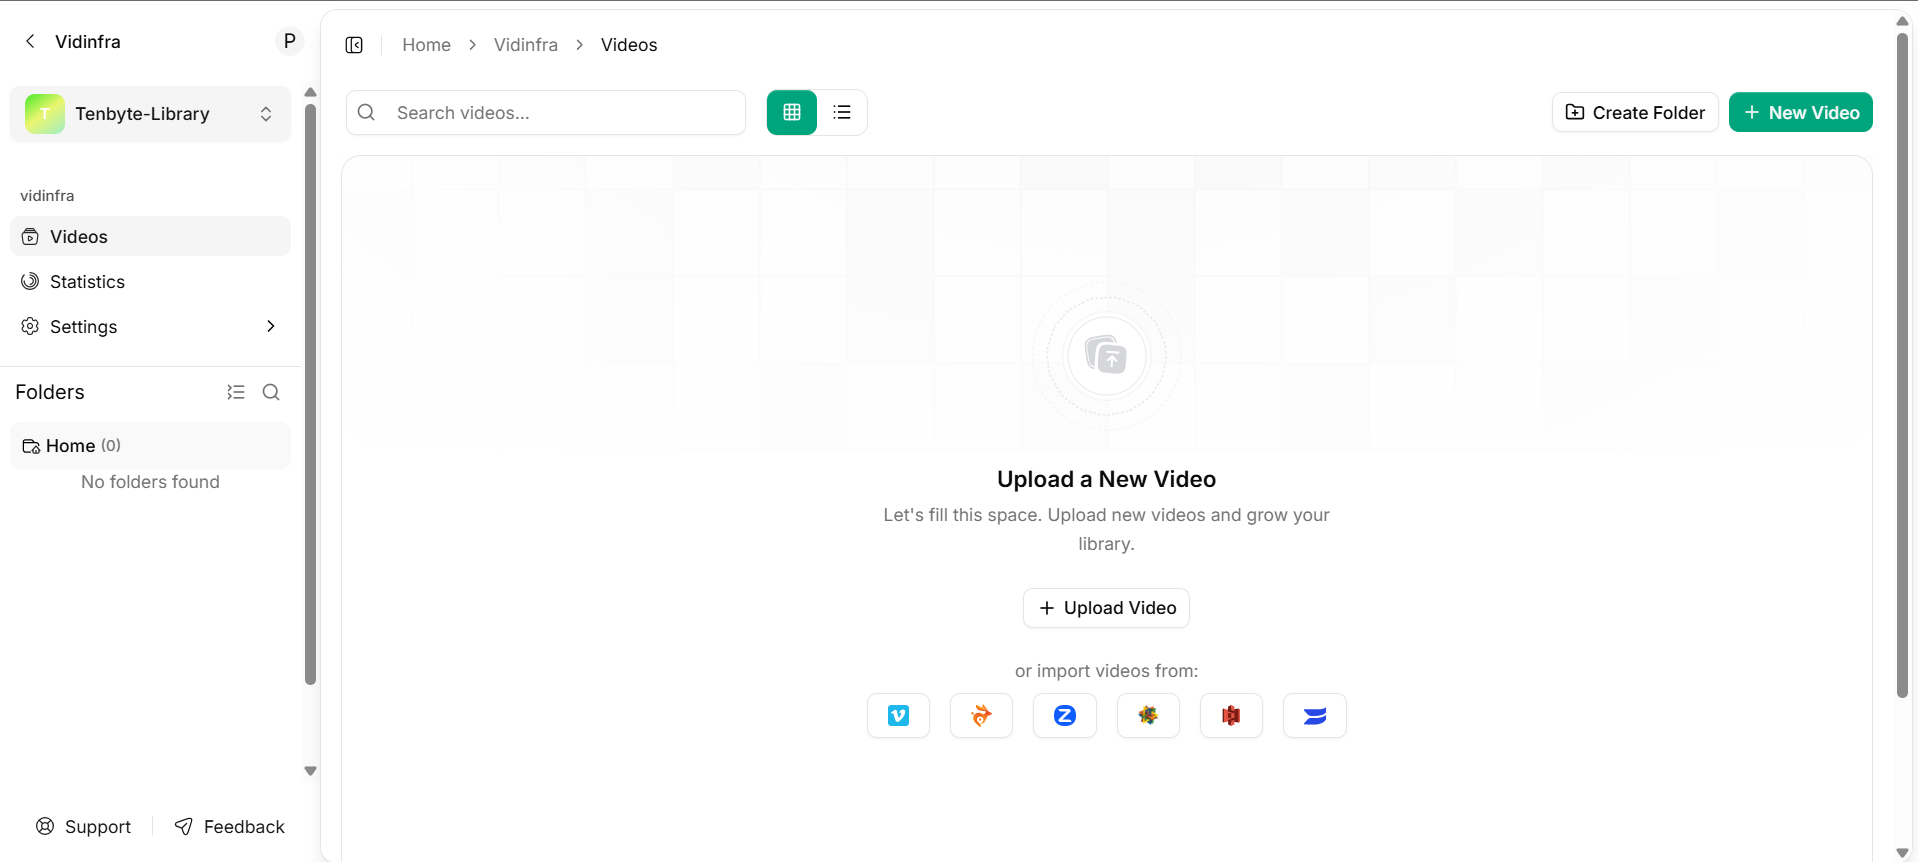
Video Library Dashboard
Upload your Video
-
To upload a video, click the Upload Video button from your library dashboard. This will allow you to select a video file from your local device.
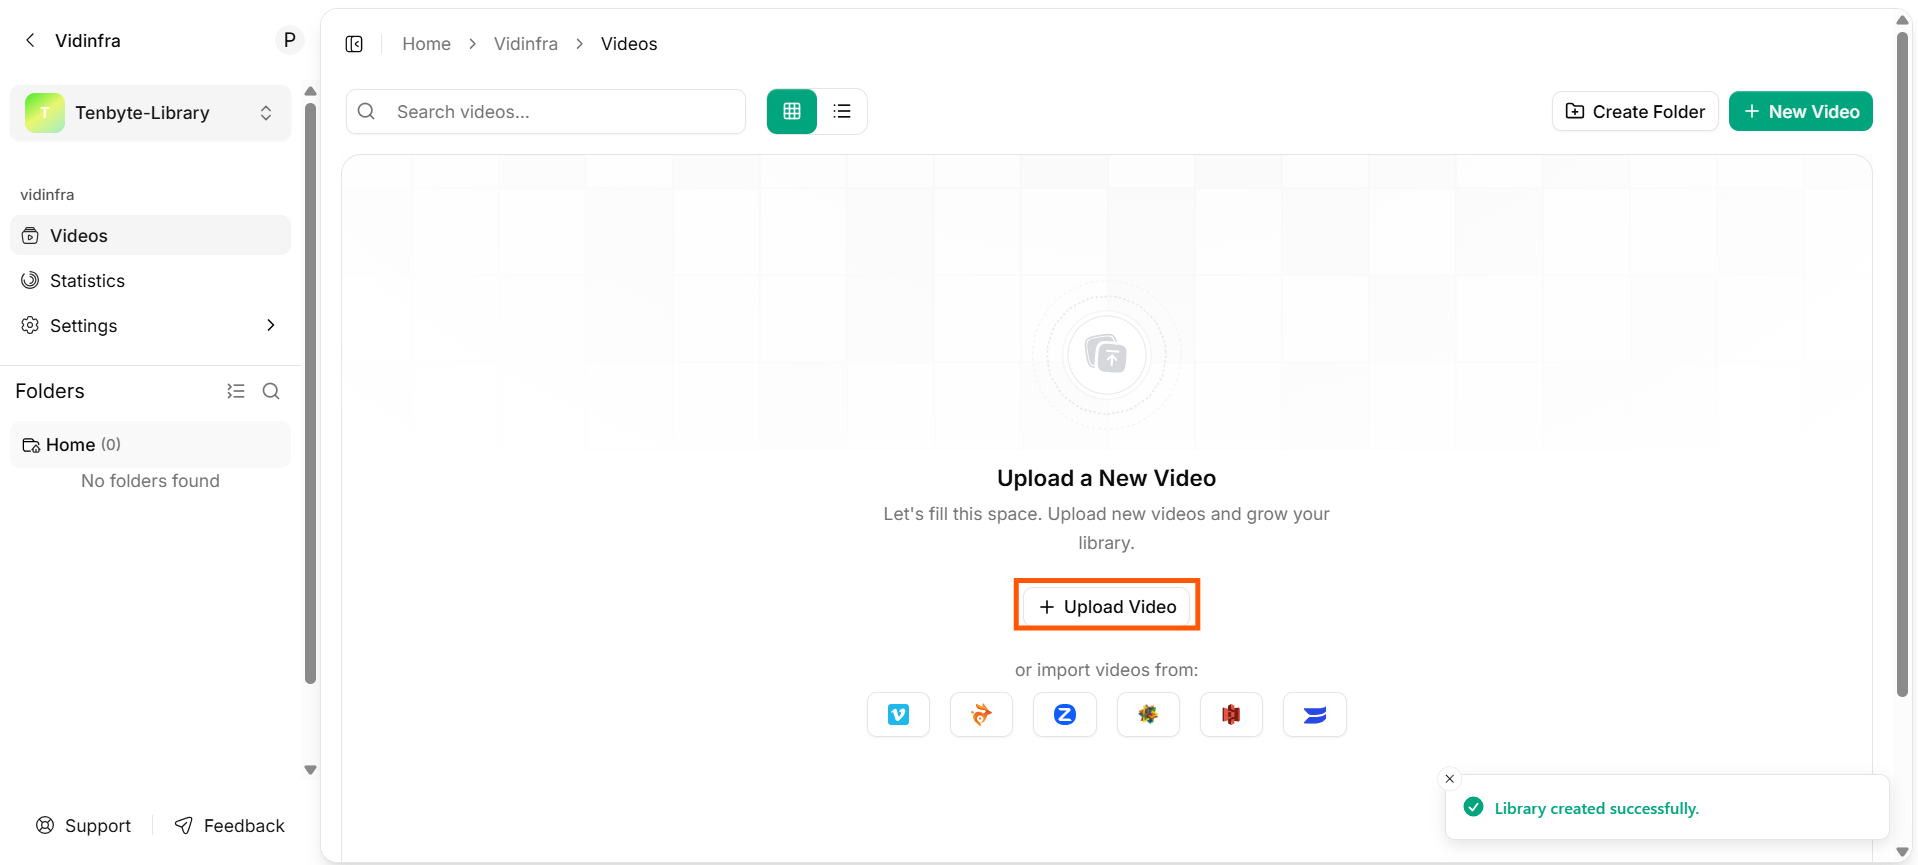
Upload your Video
-
Alternatively, if your videos are hosted on supported platforms, you can directly import them into Vidinfra by selecting your preferred service.
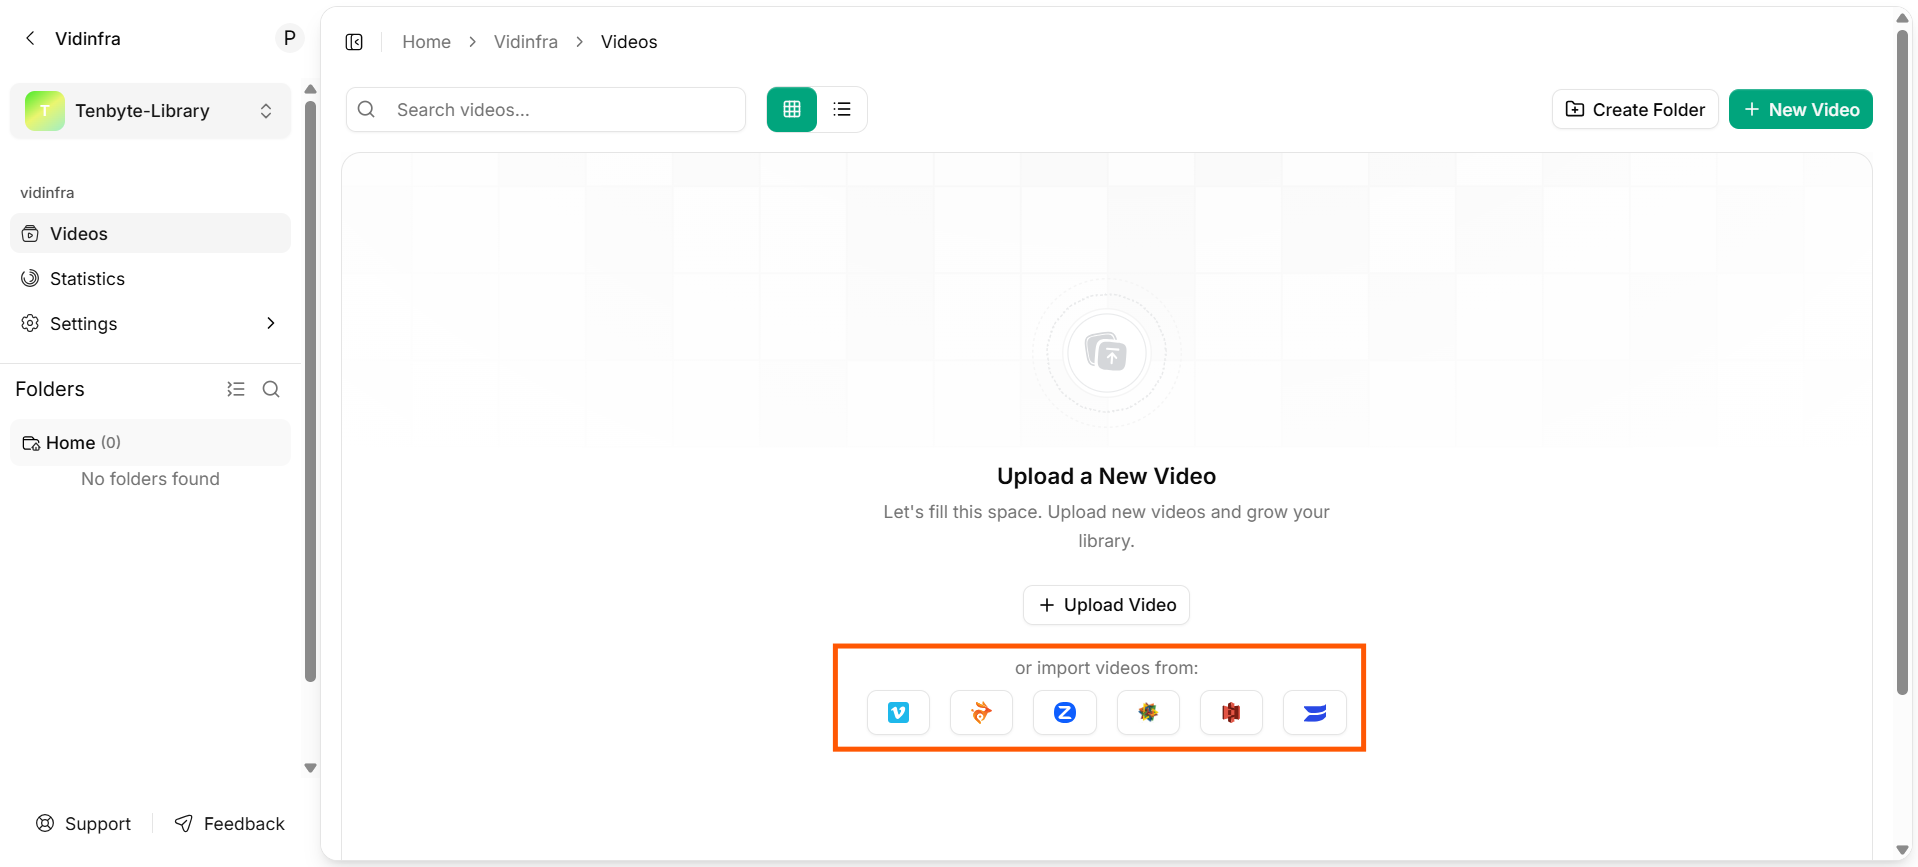
Import Existing Videos
To review the full video submission requirements for Vidinfra, see the Upload Video Page in the Managed Videos section.
Stream your Video
-
Once your video is uploaded, Vidinfra automatically begins processing it. This includes:
- Optimizing the video for playback efficiency.
- Transcoding the video into multiple renditions and adaptive bitrates for different network speeds and devices.
- Converting the video into
HLS(HTTP Live Streaming) andDASH(Dynamic Adaptive Streaming over HTTP) formats for smooth, adaptive playback.
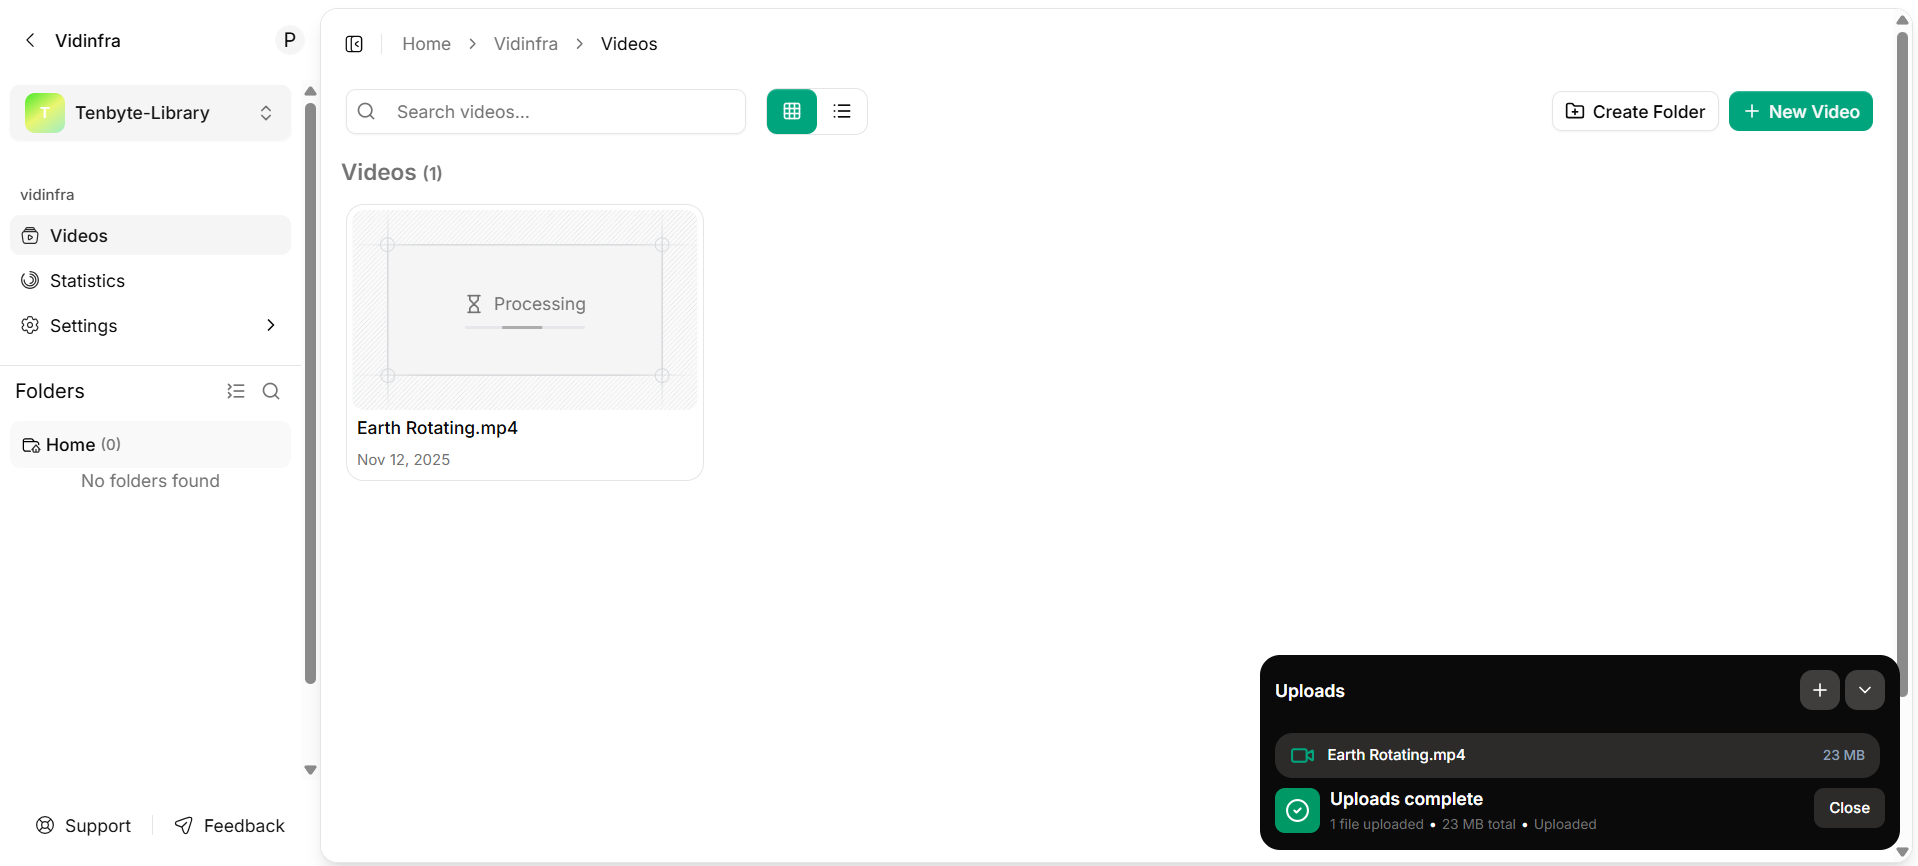
Vidinfra Processing your Video
✅ Supported formats:.mp4,.mov,.mkv,.webm,.avi,.flv
-
After processing, your video is ready to be streamed. You can now:
- Embed it on your website.
- Share the playback link with your audience.
- Stream it across multiple platforms for global delivery.
Copy your video ID
- Go to your Videos section where all your uploaded videos are listed.
- Click the three dots or the Actions button next to the video you want to copy the ID for.
-
From the dropdown menu, select Copy Video ID. The video ID will be copied to your clipboard.
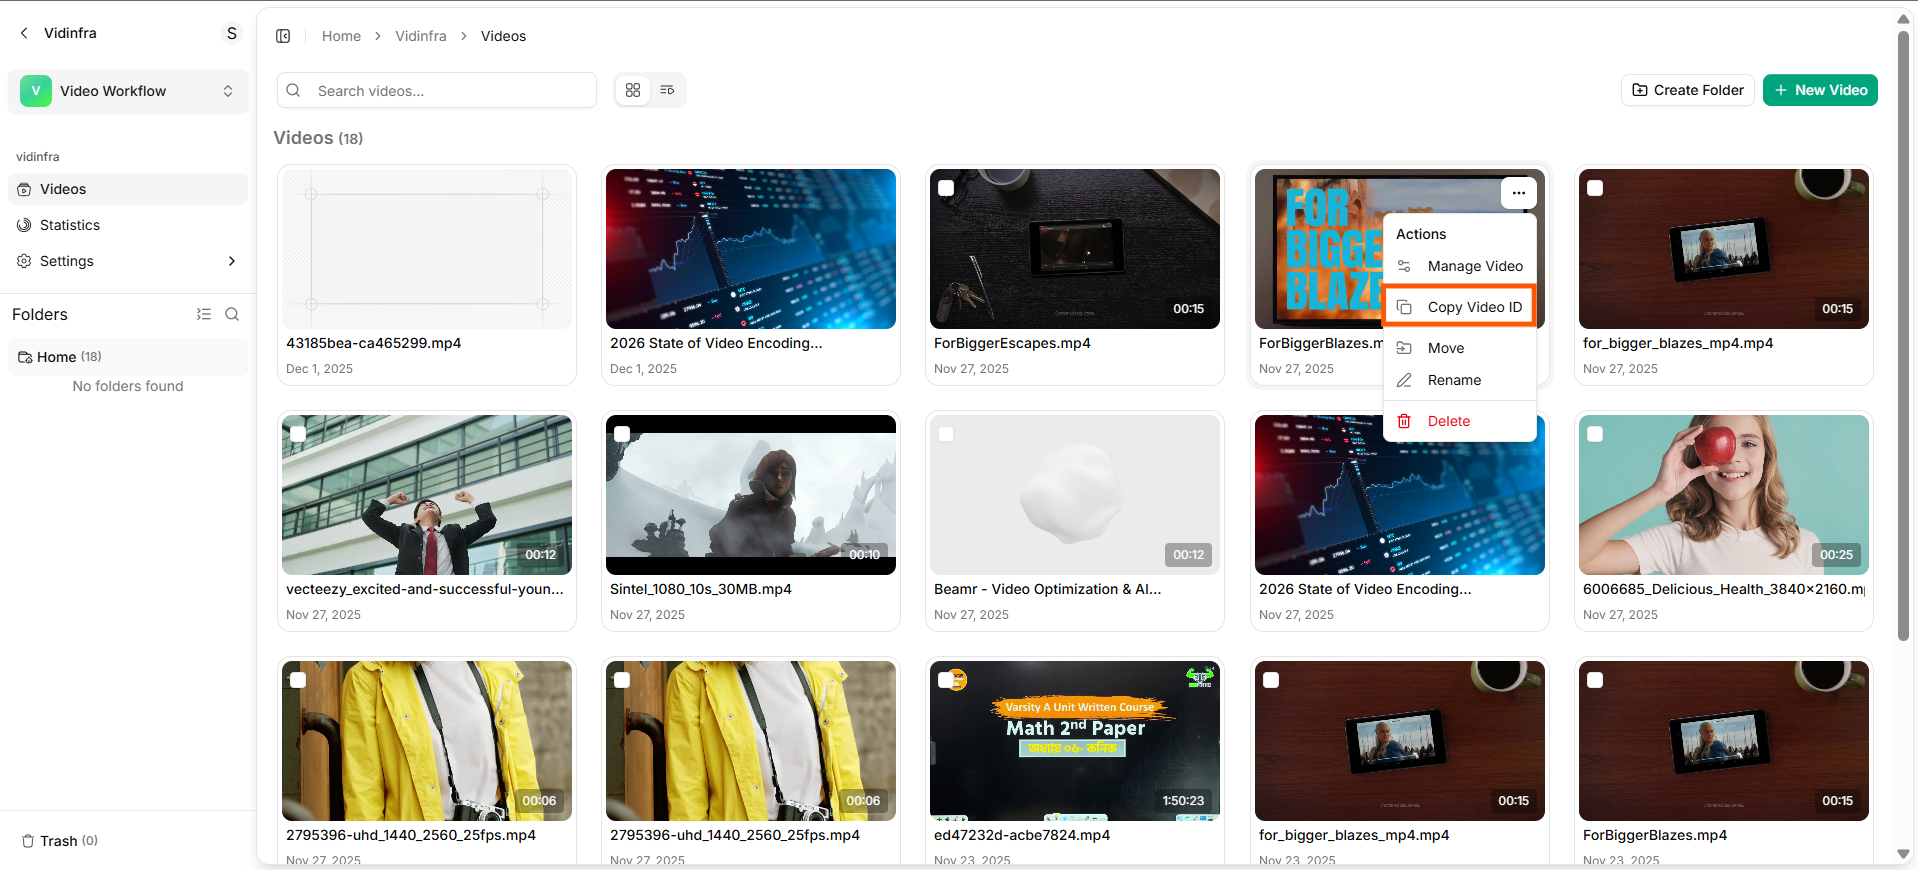
Copy your Video ID
- Now that the video ID is copied, you can paste it wherever needed, like in URLs, APIs, or for linking purposes.