Prerequisites
Before starting, make sure you have:- A Tenbyte account — Sign up.
- A valid email address that you can access immediately.
- A project or application that you want to deploy.
- A basic understanding of virtual machines, storage, or general cloud concepts.
Sign up for a account
- Visit the Tenbyte Website.
-
On the homepage, click the “Sign Up with Email” button. This will take you to the cloud sign-in page.
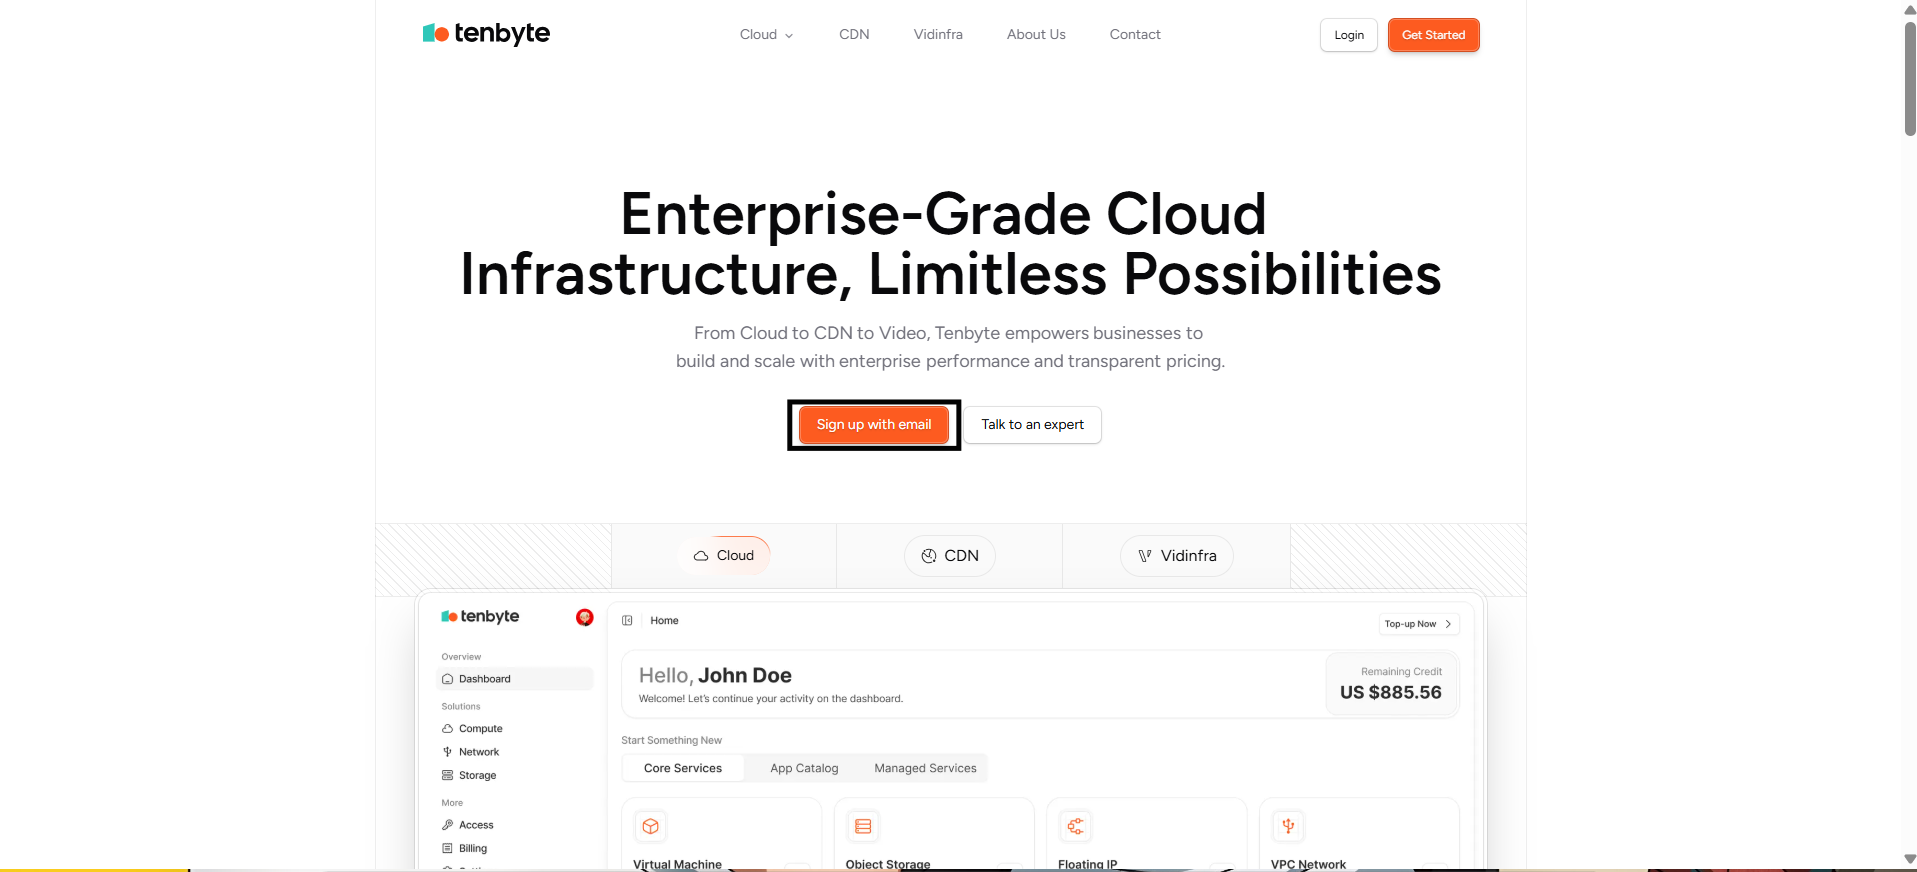
Tenbyte Website
-
Click Create an Account to create your account. A registration form will appear where you can enter your details.
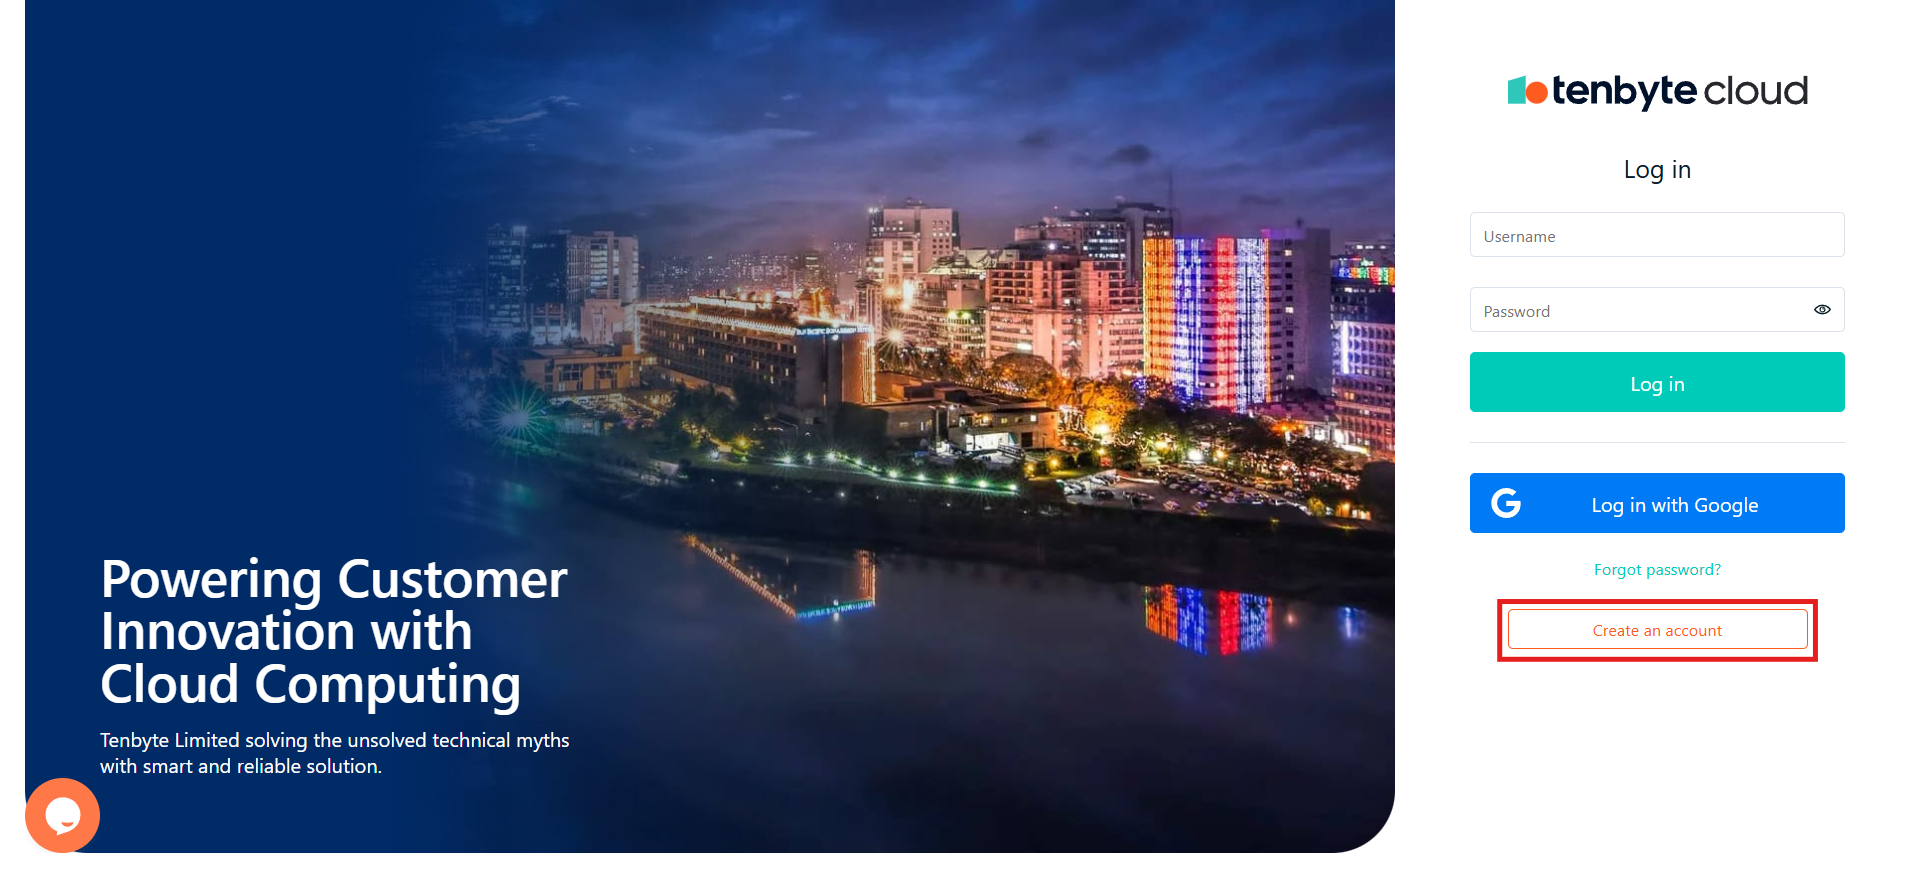
Create your account
- Add Your Email Address: Enter a valid email address.
-
Create a Password: Set a secure password that meets the following requirements:
- At least 8 characters long
- Includes one uppercase letter
- Includes one special character
- After filling out the required fields, click Sign Up.
-
Tenbyte will send a verification link to the email address you provided.
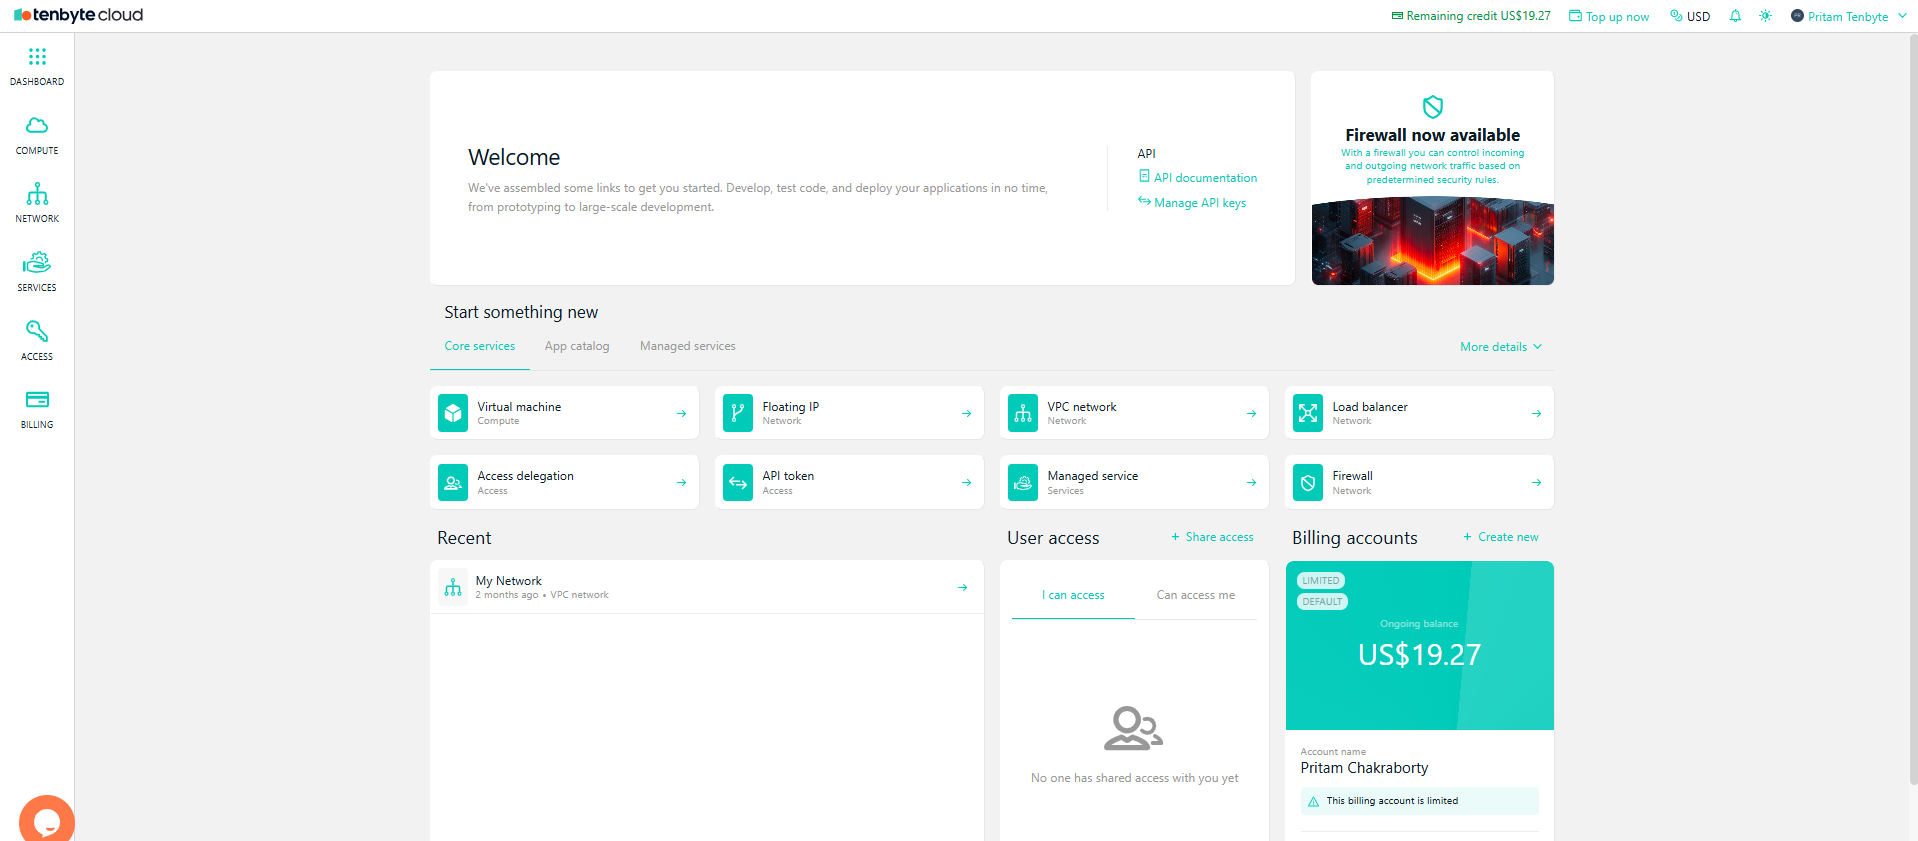
Tenbyte Cloud Dashboard
- Once you have confirmed your email, you will be able to access your Tenbyte Cloud dashboard.
-
If the email doesn’t appear:
- Check the spam or promotions folder
- Make sure the email address was typed correctly
Use Social Sign-Up
-
If you prefer a faster setup, you can choose Sign Up with Google instead of creating a password.
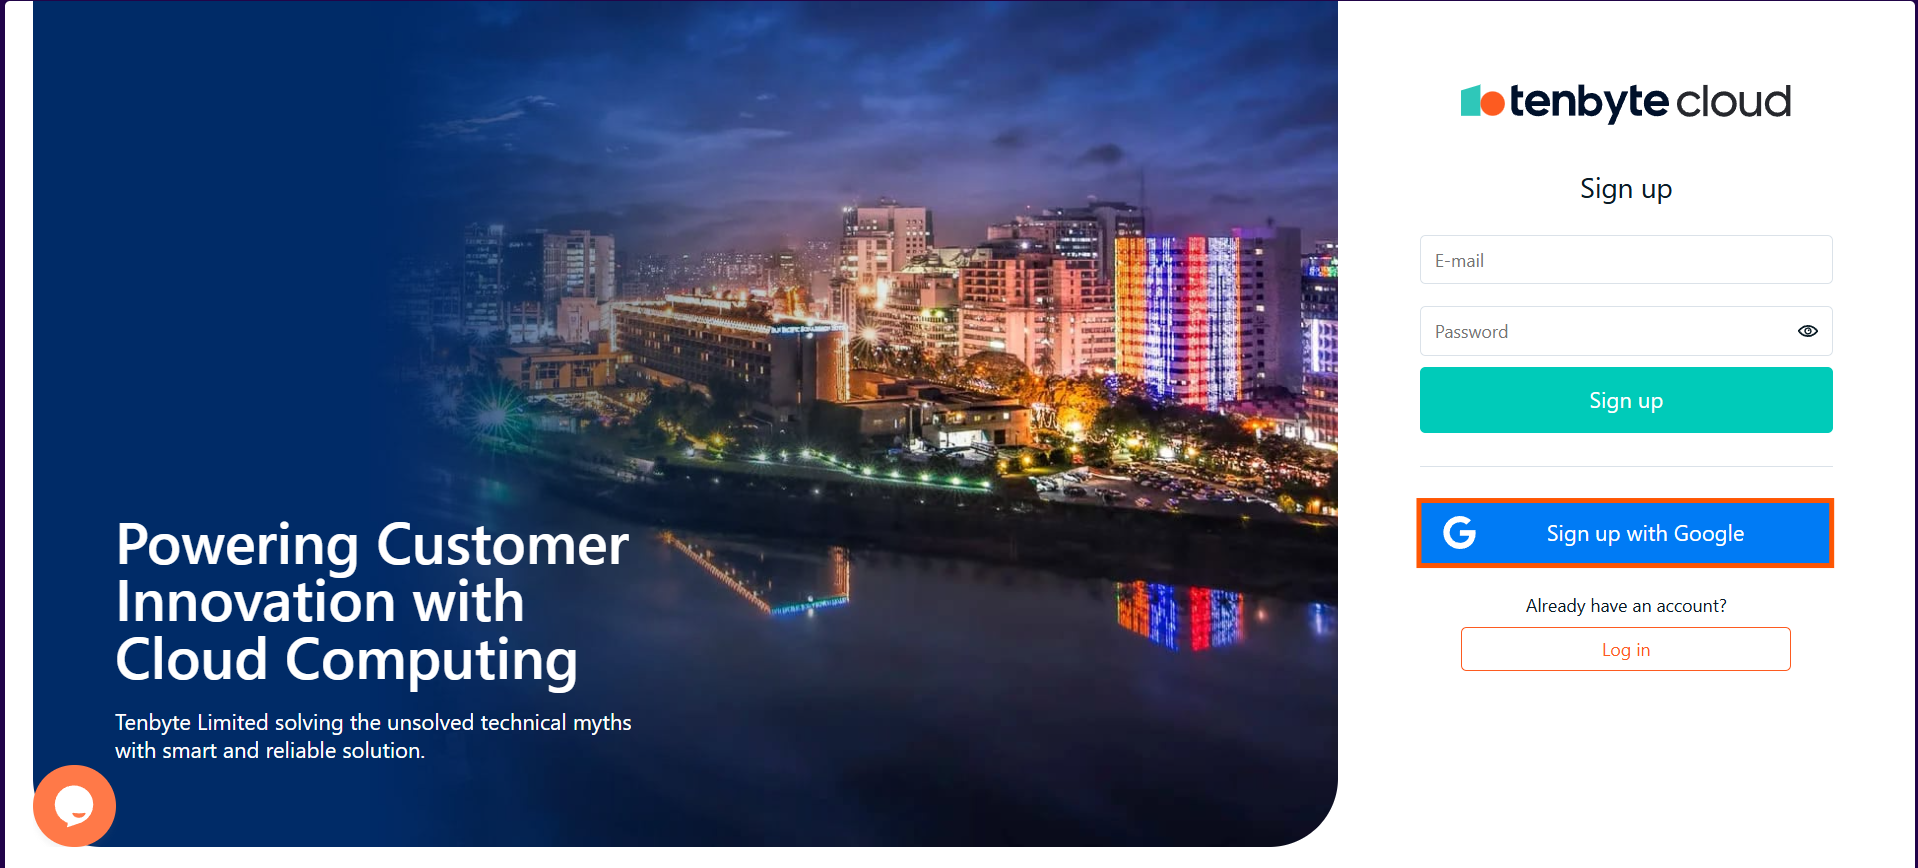
Use Google as Social Sign-Up
- This method links your Tenbyte Cloud account to your Google identity, making login simple and password-free.
-
Use this option if you want:
- Quicker onboarding
- Fewer passwords to manage
- Automatic access control through your Google account
- Once completed, your dashboard will open just like a regular email-based account.