> ## Documentation Index
> Fetch the complete documentation index at: https://docs.tenbyte.io/llms.txt
> Use this file to discover all available pages before exploring further.
# Organize Team Members
View all workspace members, invite new users, and manage individual access permissions from one central location.
## Members
* This page lists all users in your organization along with their roles and connection details.
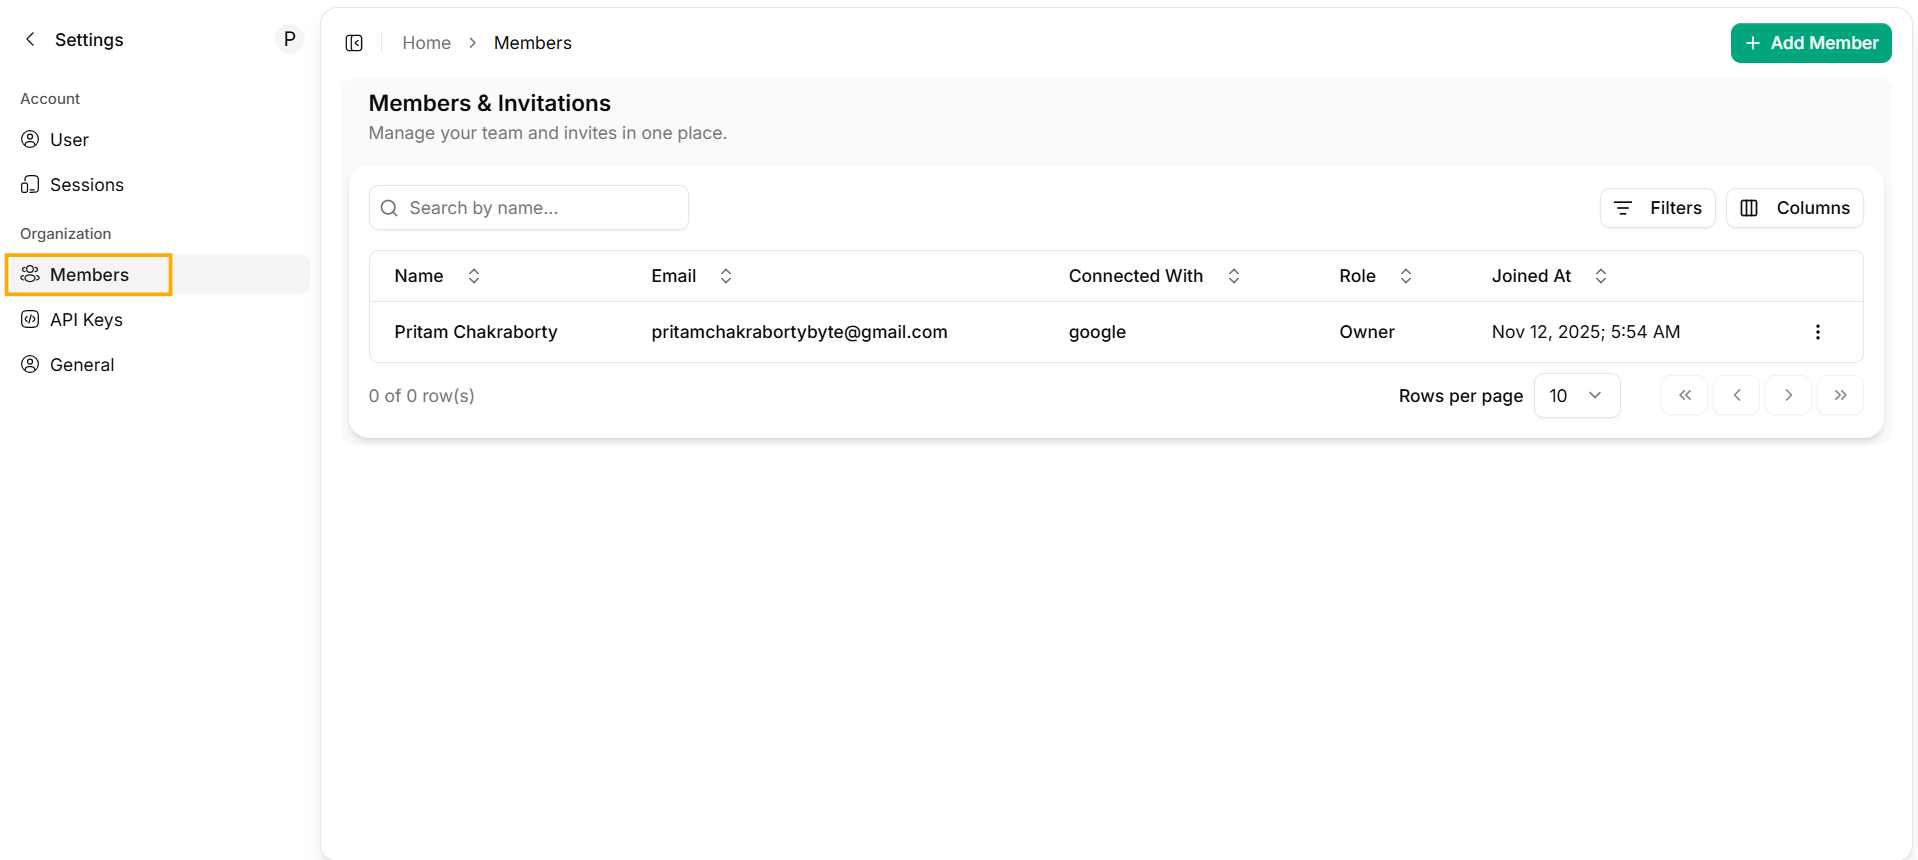 From this dashboard you can view -
1. **Name** — The member’s full name
2. **Email** — Email address used to sign in
3. **Connected With** — Sign-in provider like email, Google, or GitHub
4. **Role** — Owner, Admin, Member, or custom-defined role
5. **Joined At** — The date and time the member joined your workspace
To manage a member, open the three-dot menu beside their name.
From this dashboard you can view -
1. **Name** — The member’s full name
2. **Email** — Email address used to sign in
3. **Connected With** — Sign-in provider like email, Google, or GitHub
4. **Role** — Owner, Admin, Member, or custom-defined role
5. **Joined At** — The date and time the member joined your workspace
To manage a member, open the three-dot menu beside their name.
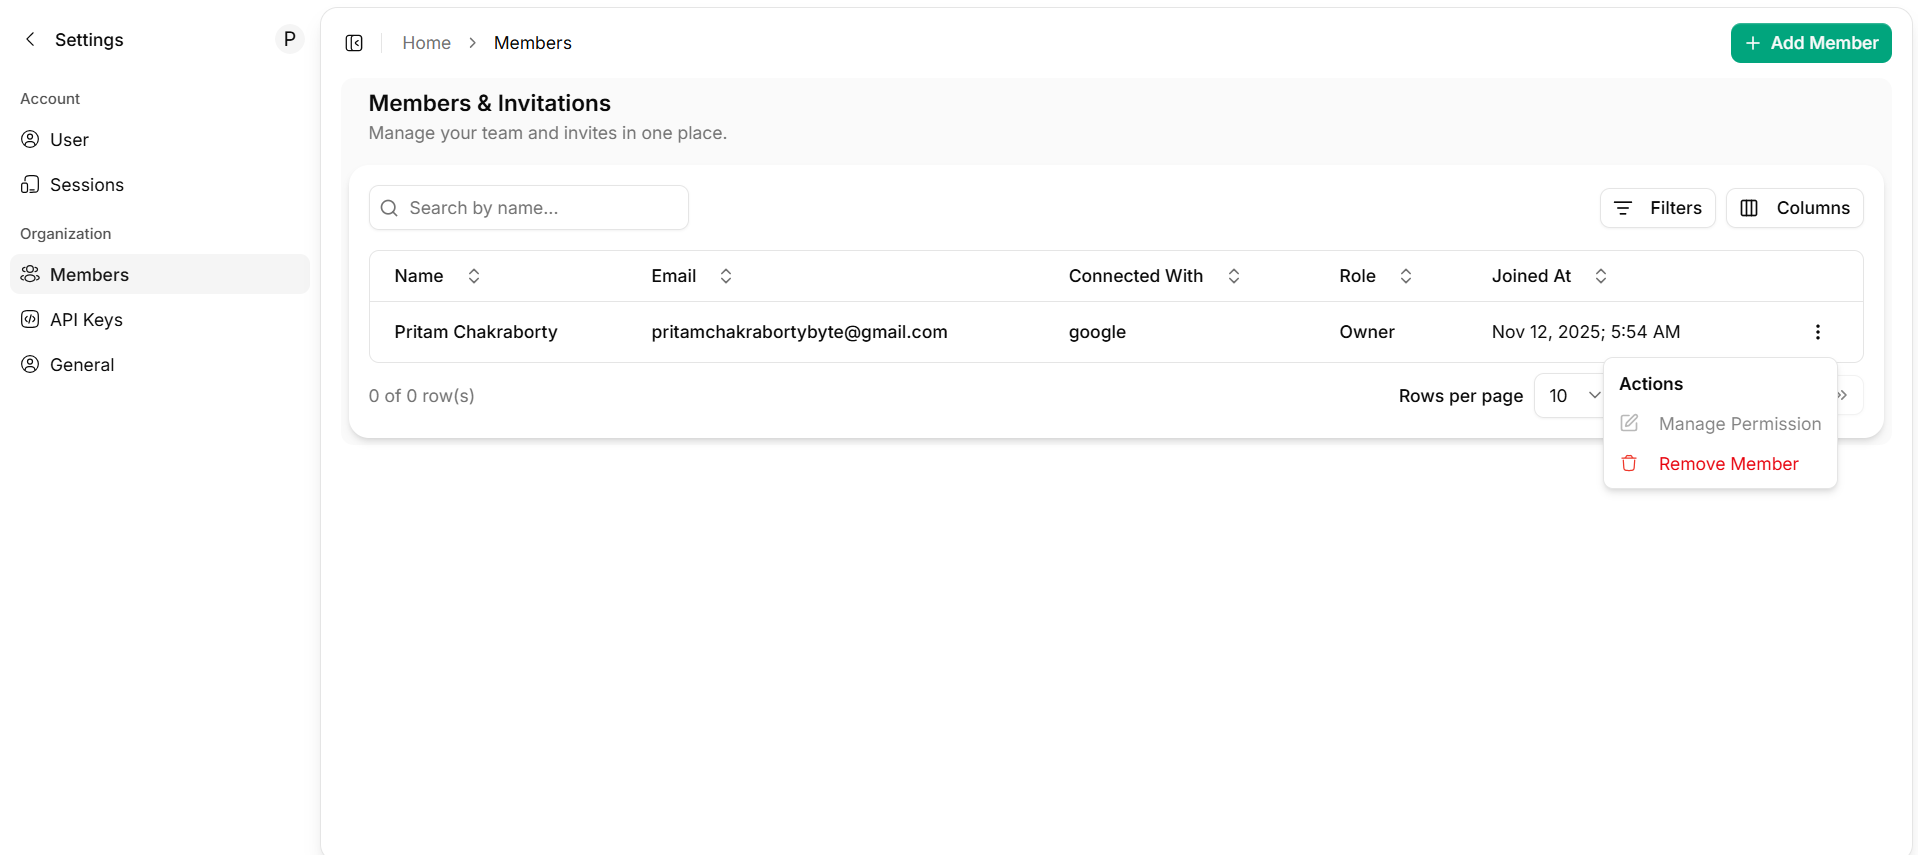 The menu gives you a few options:
1. **Manage Permission** — Adjust what this person can access and control
2. **Remove Member** — Remove the user from your organization
Removing a member immediately revokes access to all dashboards, APIs, and distributions.
***
## Invite Member
* To bring new people into your workspace, select **Add Members**.
The menu gives you a few options:
1. **Manage Permission** — Adjust what this person can access and control
2. **Remove Member** — Remove the user from your organization
Removing a member immediately revokes access to all dashboards, APIs, and distributions.
***
## Invite Member
* To bring new people into your workspace, select **Add Members**.
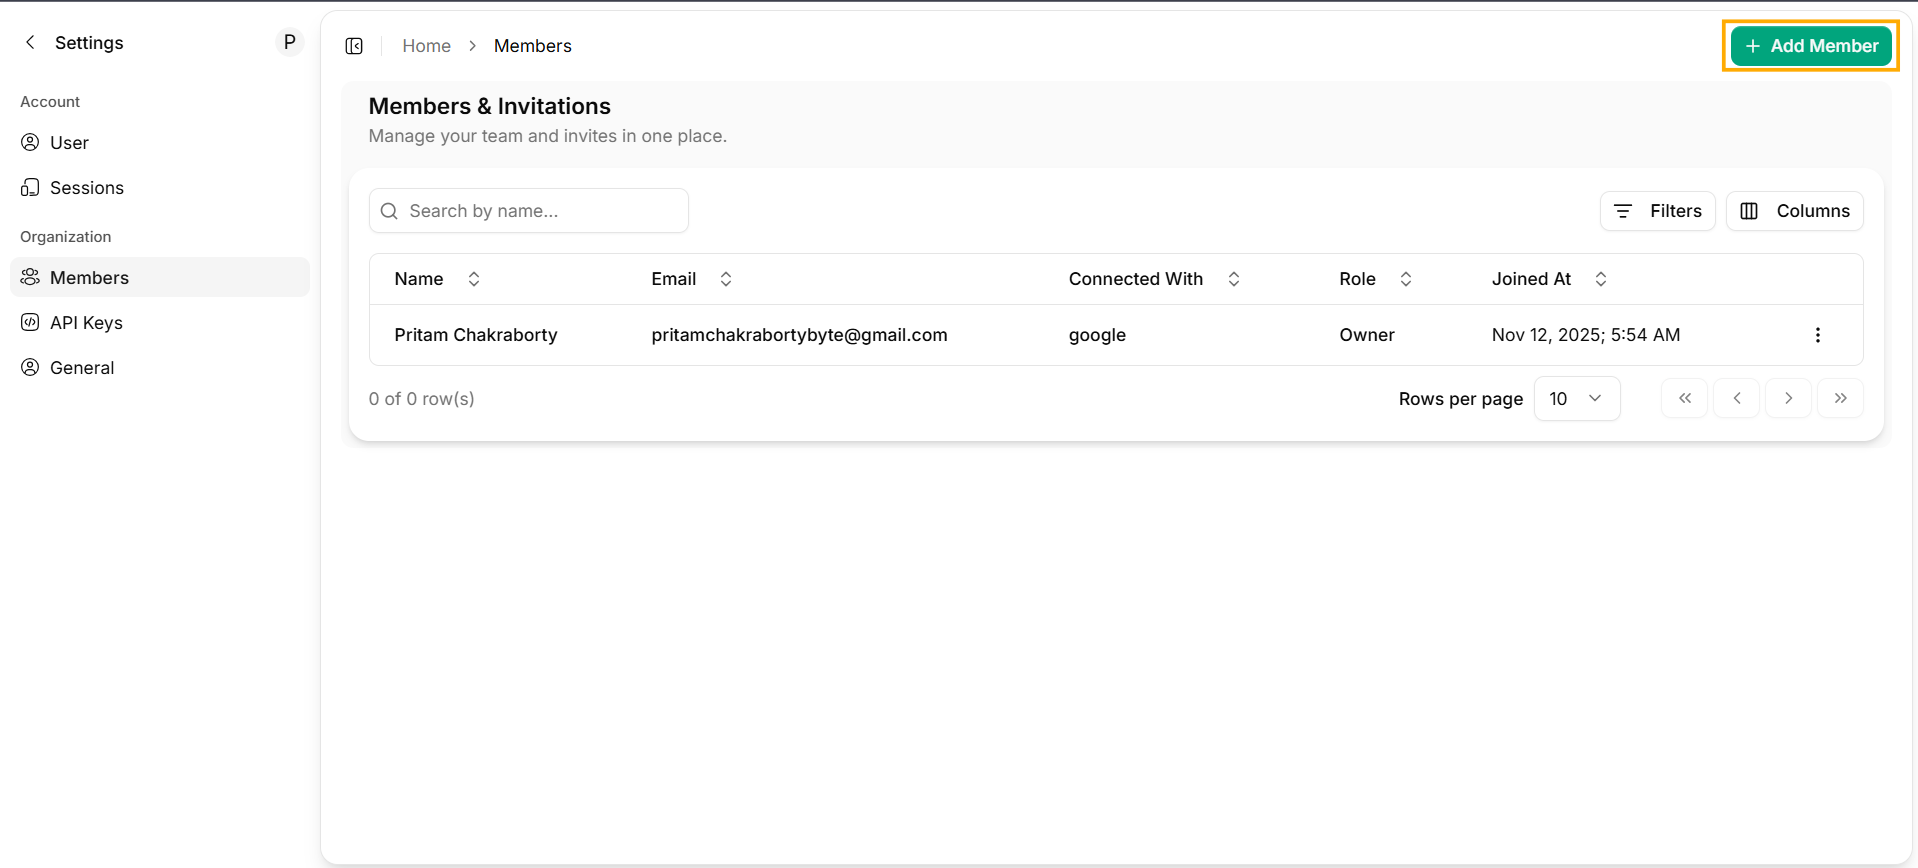 Here’s how the invitation works:
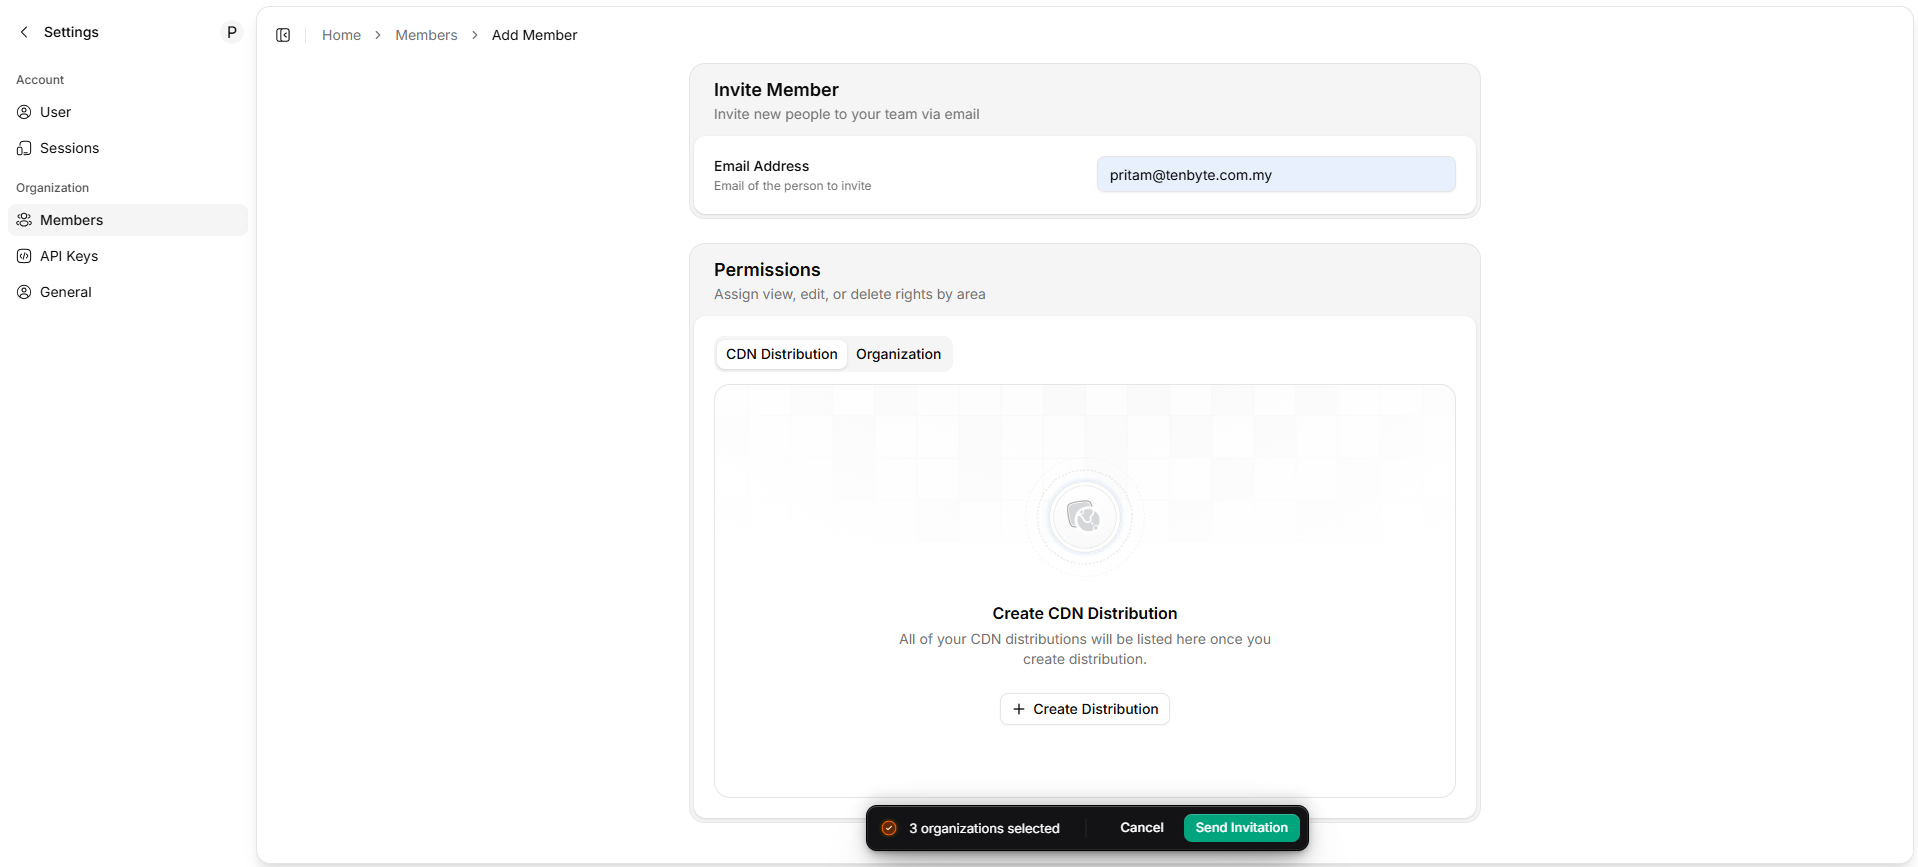
1. **Enter Email Address** - In the Invite Member section, type the email of the person you want to invite.
2. **Send Invitation** - Once the email is entered click on **Send invitation**, an invitation will be sent.
Here’s how the invitation works:
1. **Enter Email Address** - In the Invite Member section, type the email of the person you want to invite.
2. **Send Invitation** - Once the email is entered click on **Send invitation**, an invitation will be sent.
 The person you invite must accept the email invitation before they appear in your Members list.
Once they join, you can assign permissions to decide what they can access.
***
## Permissions
* Permissions define what a member can view, edit, or delete inside your organization. Permissions are grouped into two areas:
1. CDN Distribution
2. Organization
You can switch between these tabs to assign access rights.
### CDN Distribution Permissions
* If your organization has CDN distributions, they will appear in this area.
Each distribution can have its own access settings.
The person you invite must accept the email invitation before they appear in your Members list.
Once they join, you can assign permissions to decide what they can access.
***
## Permissions
* Permissions define what a member can view, edit, or delete inside your organization. Permissions are grouped into two areas:
1. CDN Distribution
2. Organization
You can switch between these tabs to assign access rights.
### CDN Distribution Permissions
* If your organization has CDN distributions, they will appear in this area.
Each distribution can have its own access settings.
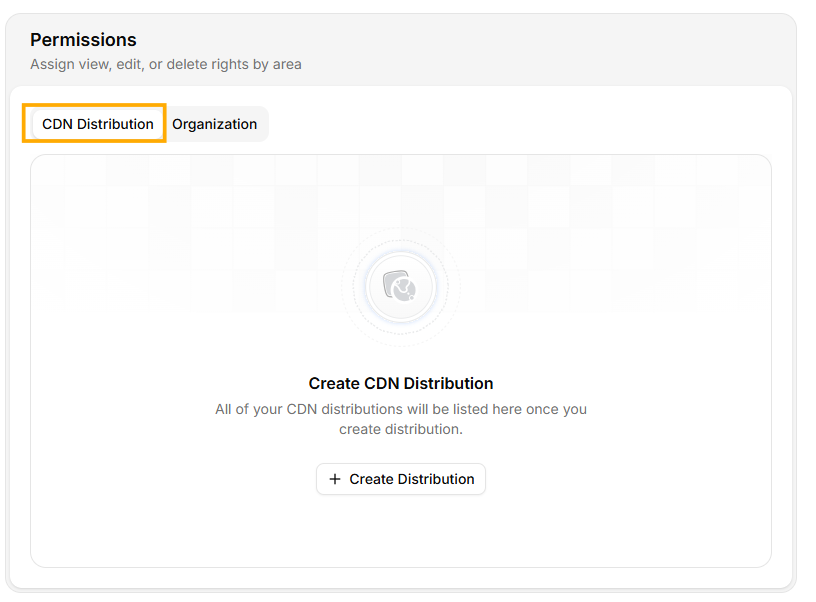 If you want to create a new distribution, check the guide at [Create CDN Distribution](docs/cdn/distributions/create-distribution).
### Organization Permissions
* These permissions control access to global settings within your workspace.
If you want to create a new distribution, check the guide at [Create CDN Distribution](docs/cdn/distributions/create-distribution).
### Organization Permissions
* These permissions control access to global settings within your workspace.
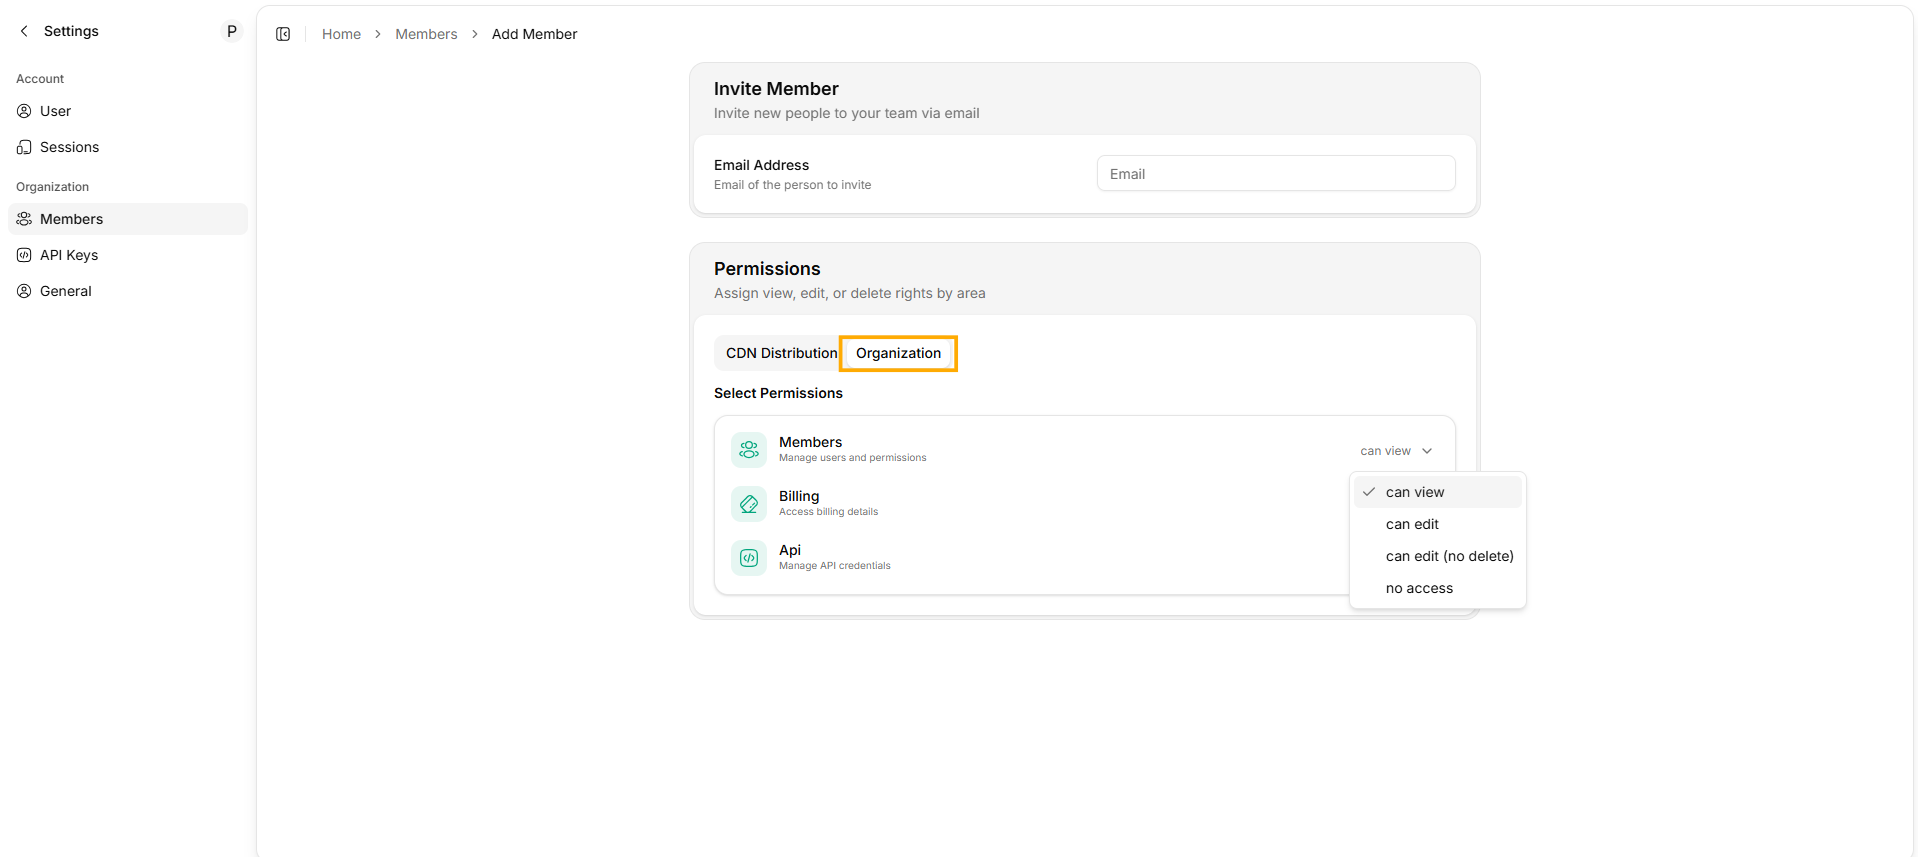 You can assign access for:
1. **Members** — Invite users and manage their permissions
2. **Billing** — View invoices and payment information
3. **API** — Create and manage API keys
For each area, you can choose:
* **`can view`**
* **`can edit`**
* **`can edit`** (no delete)
* **`no access`**
This lets you set up access in a way that fits your team and how you want to share responsibilities.
You can assign access for:
1. **Members** — Invite users and manage their permissions
2. **Billing** — View invoices and payment information
3. **API** — Create and manage API keys
For each area, you can choose:
* **`can view`**
* **`can edit`**
* **`can edit`** (no delete)
* **`no access`**
This lets you set up access in a way that fits your team and how you want to share responsibilities.