> ## Documentation Index
> Fetch the complete documentation index at: https://docs.tenbyte.io/llms.txt
> Use this file to discover all available pages before exploring further.
# Tenbyte Cloud Snapshots
Snapshots let you capture the current state of your virtual machine at a specific moment. You can use them to restore a VM, clone an environment, or create a new VM with the same configuration.
## Select Compute Section
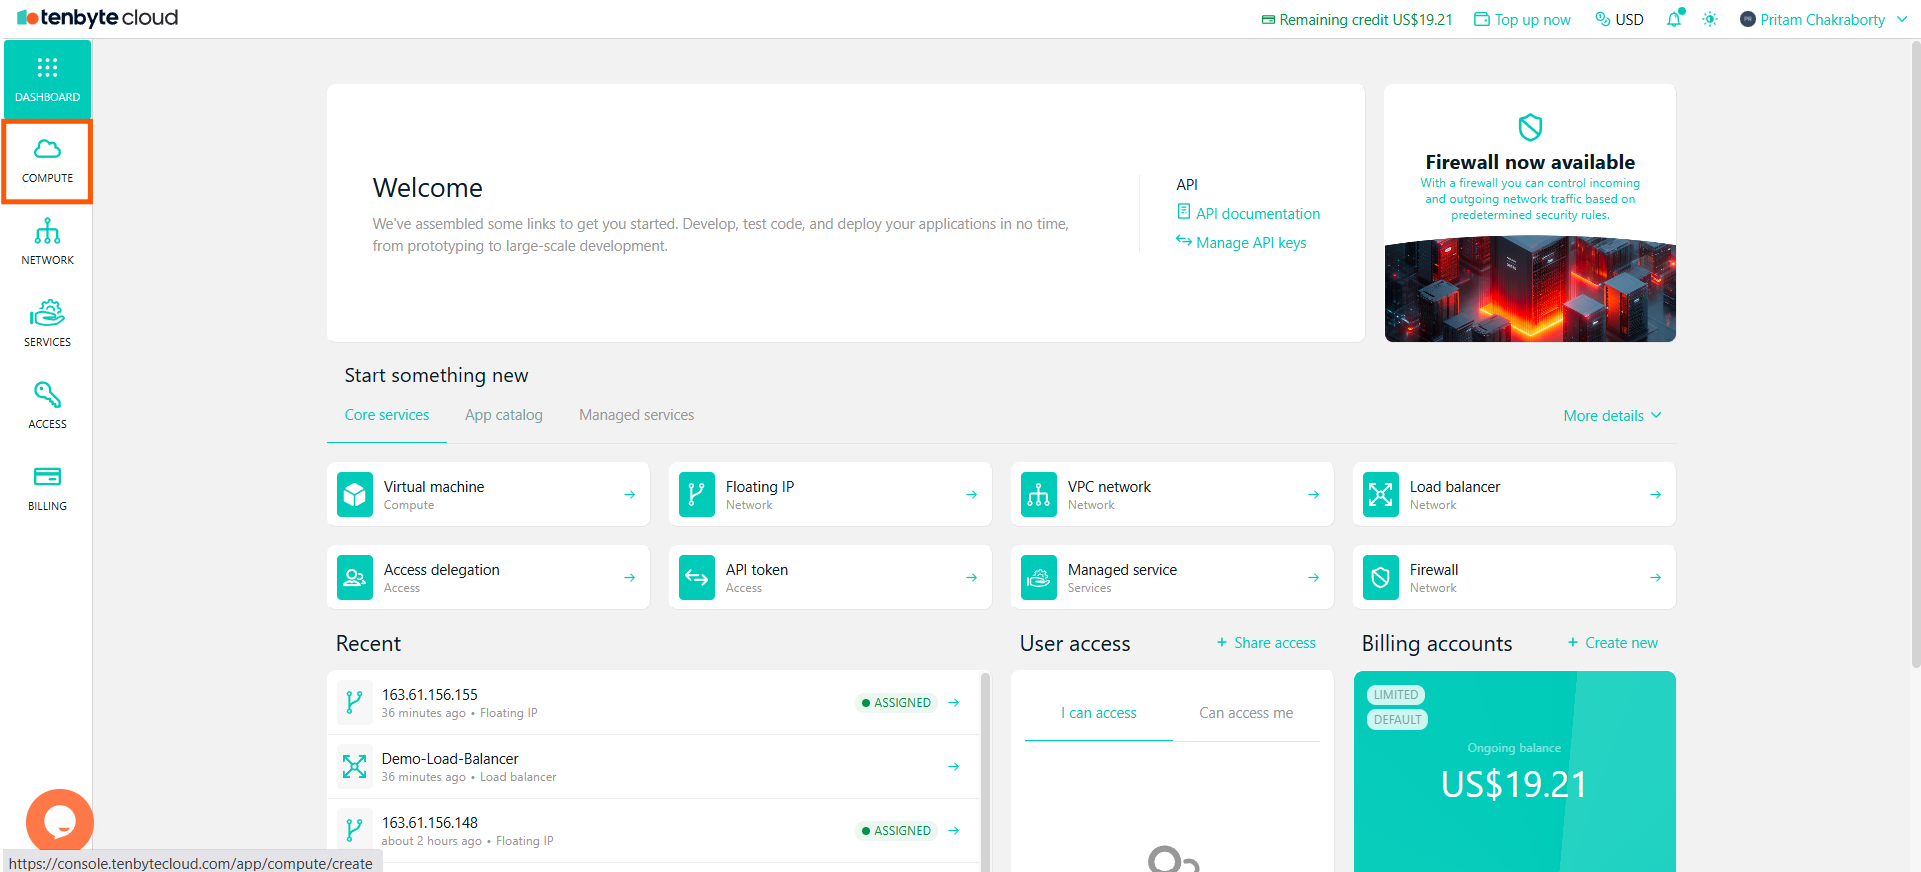
* From the left sidebar, click on **Compute** to view your created virtual machines (VMs).
 ***
## Choose Your Virtual Machine
* In the Compute section, you will see a list of all your created VMs.
***
## Choose Your Virtual Machine
* In the Compute section, you will see a list of all your created VMs.
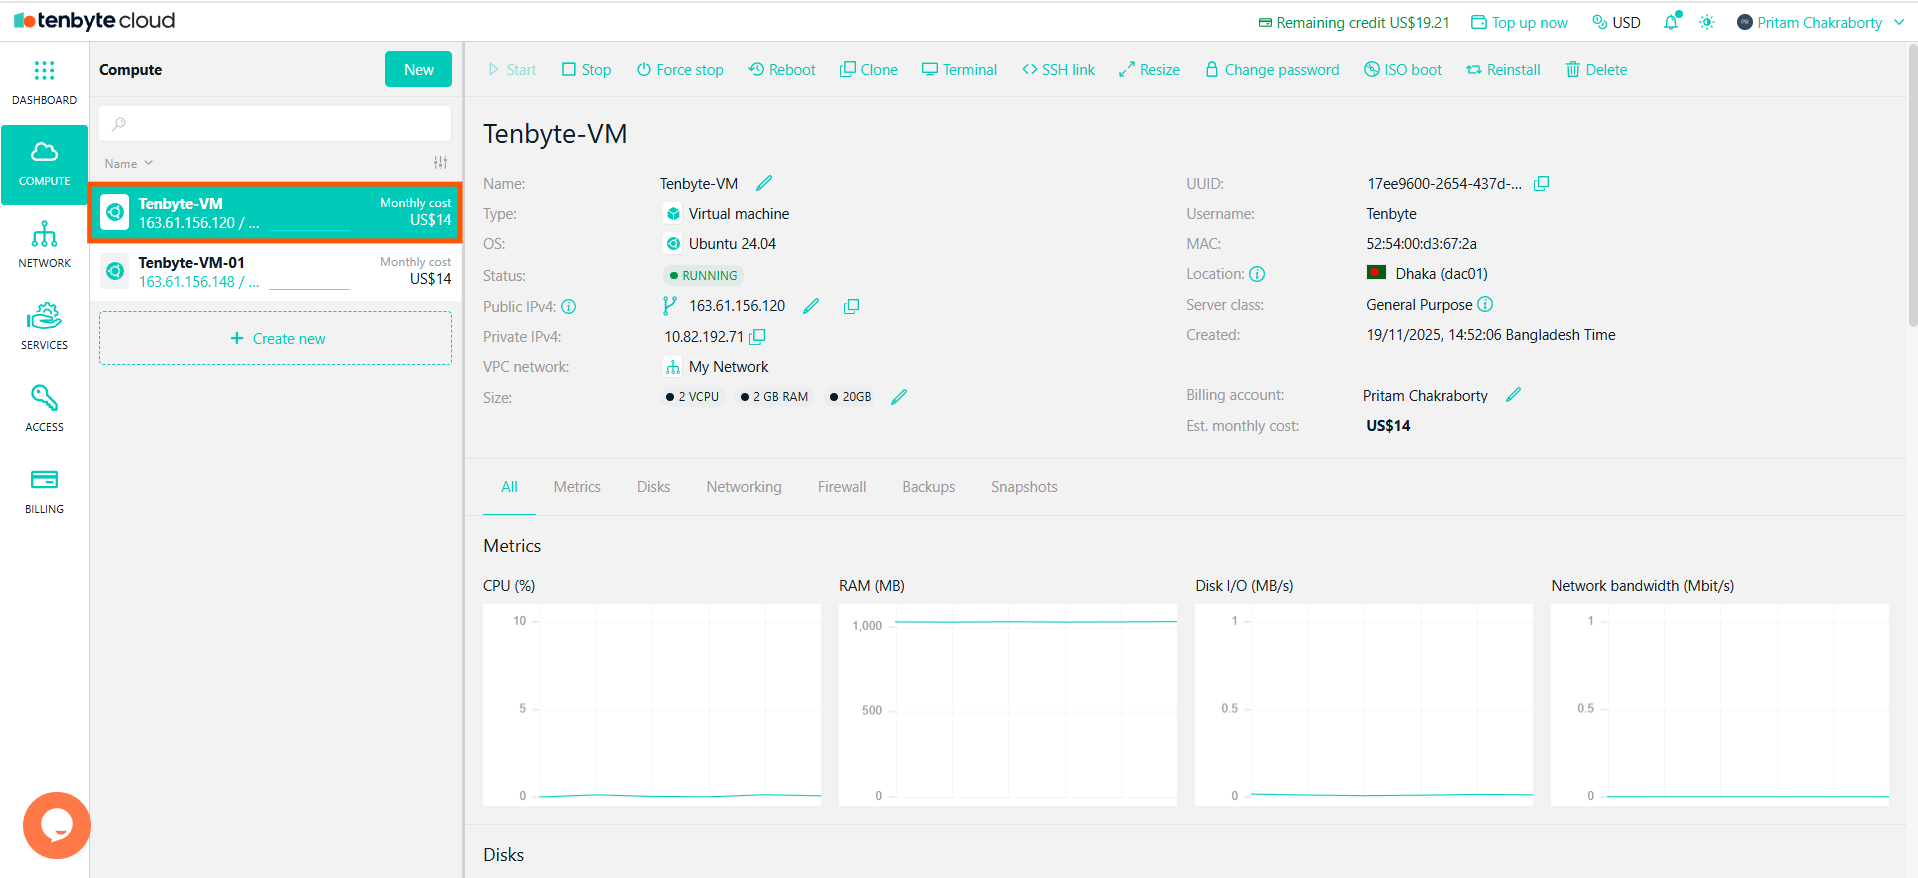 * Select the VM you want to create or manage snapshots for.
## Navigate to the Snapshots Tab
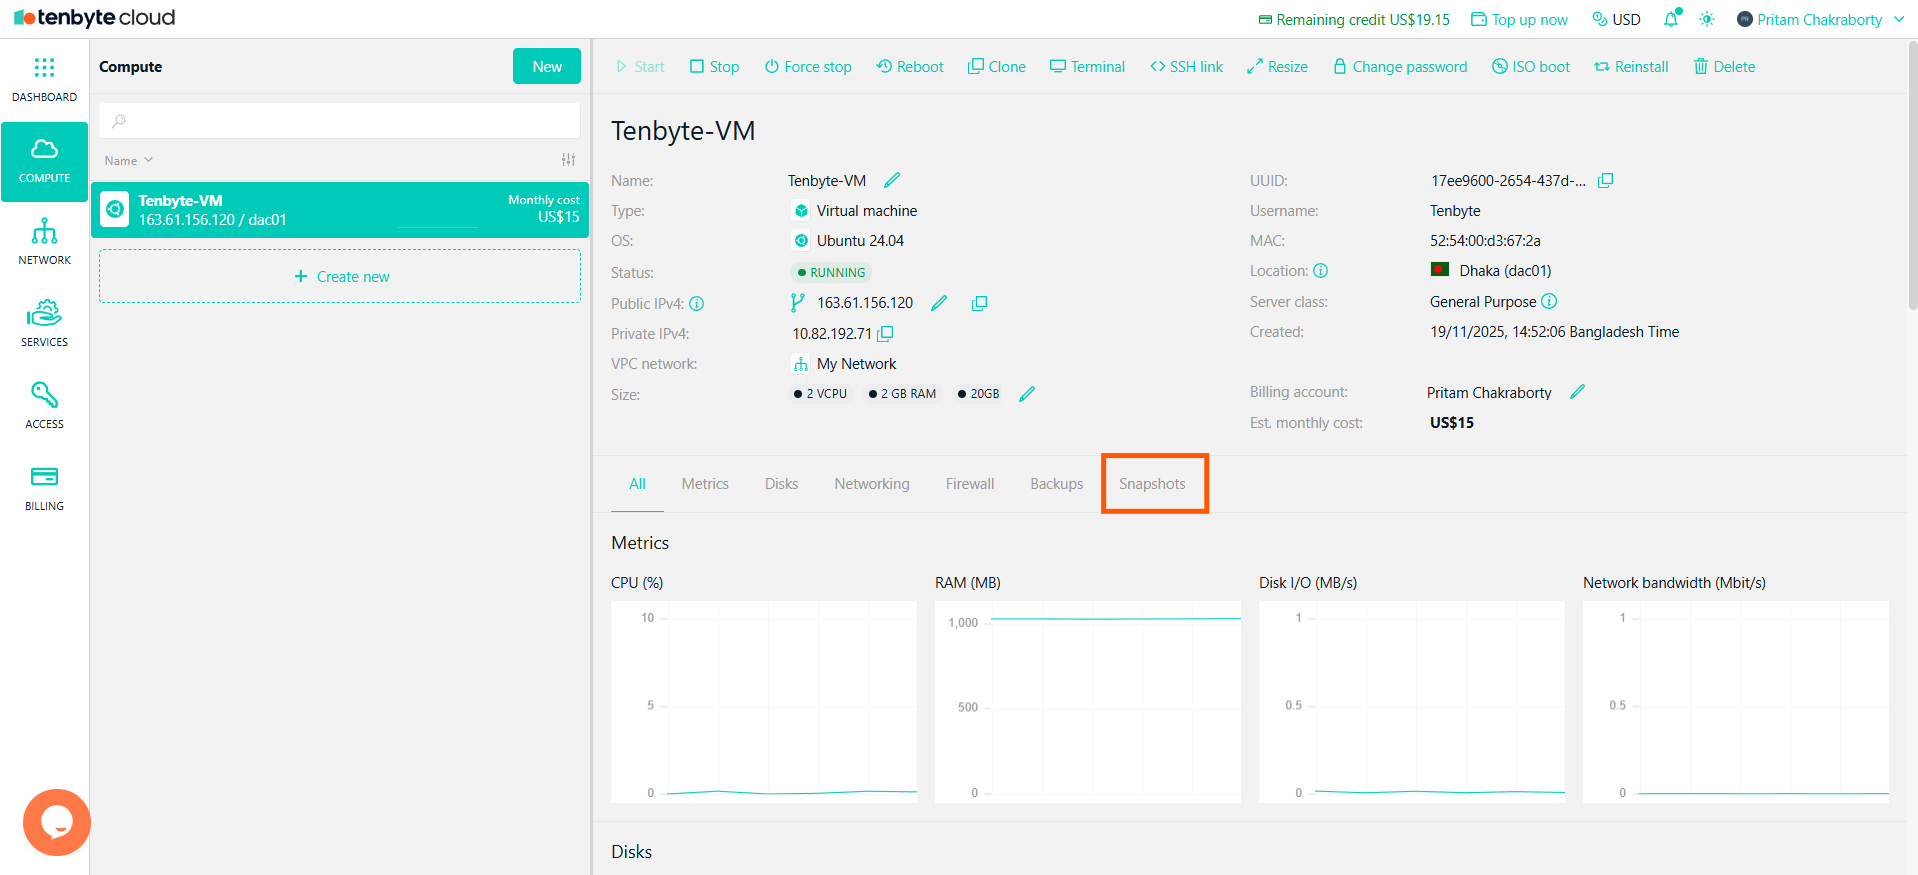
* After selecting the VM, the system will display its details and configuration options.
* Select **Snapshots** to open the snapshot management page.
* Select the VM you want to create or manage snapshots for.
## Navigate to the Snapshots Tab
* After selecting the VM, the system will display its details and configuration options.
* Select **Snapshots** to open the snapshot management page.
 ***
## Take a Snapshot
* To create a snapshot, click the **Take snapshot** button.
***
## Take a Snapshot
* To create a snapshot, click the **Take snapshot** button.
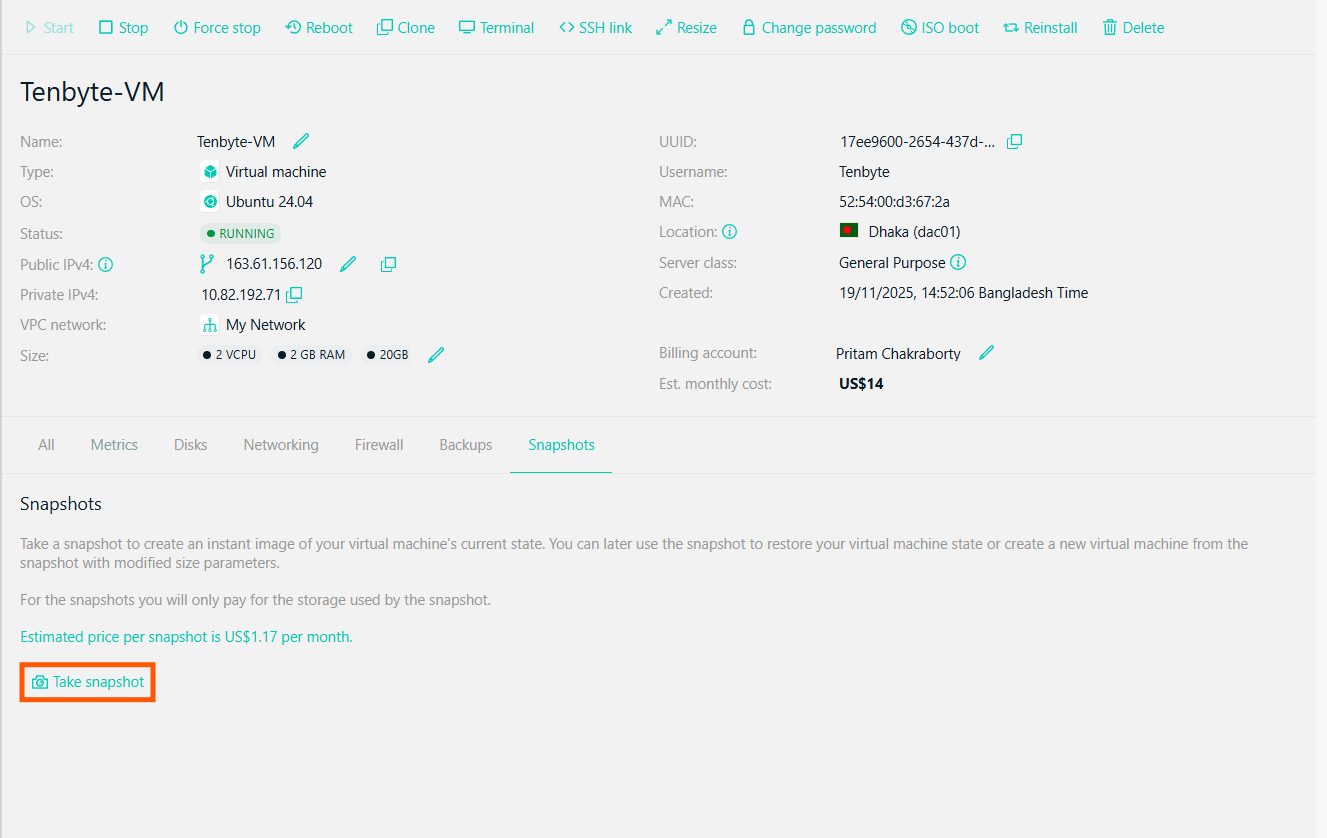 * The platform will begin creating the snapshot immediately.
***
## Snapshot Details
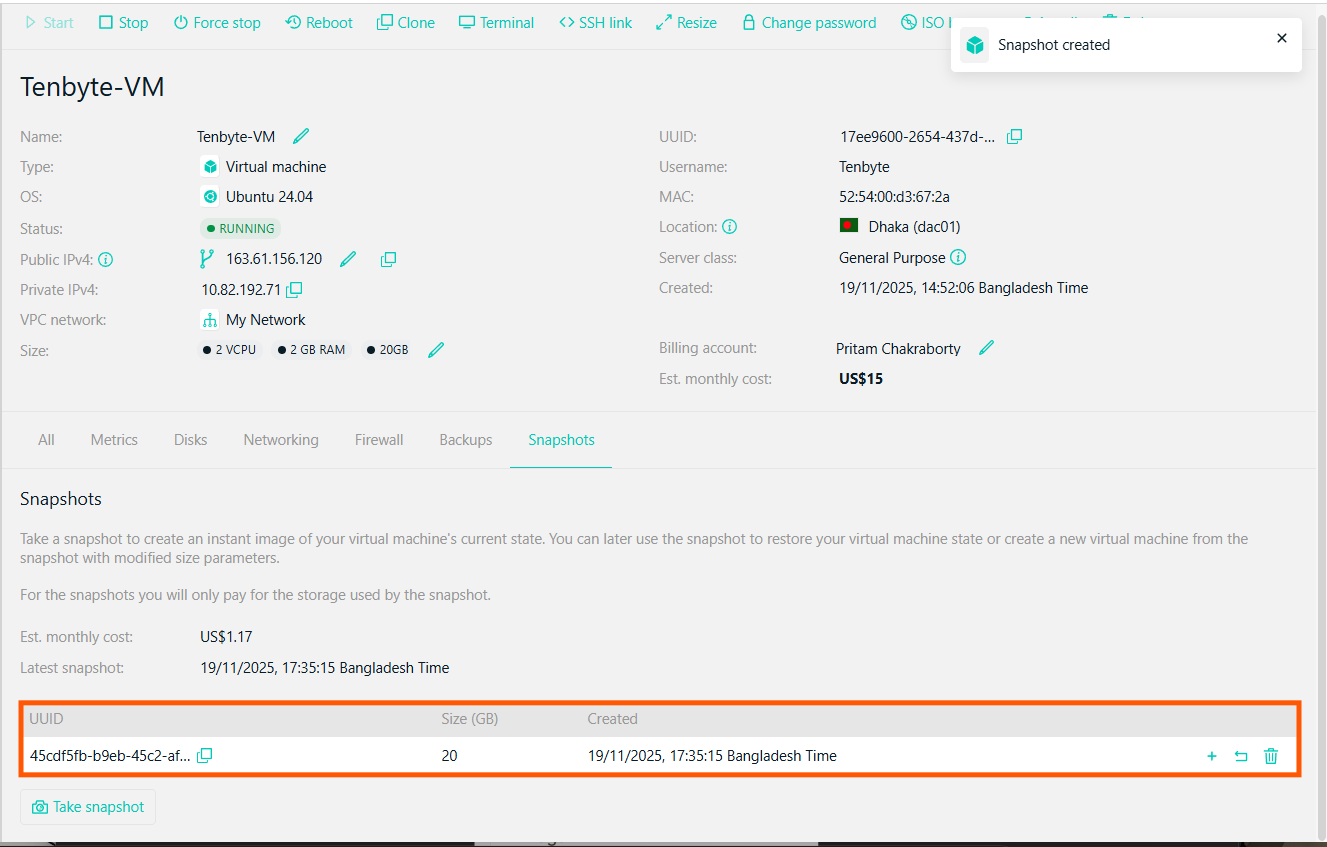
* Once a snapshot is created, you’ll see it listed with the following information:
1. **UUID**: A unique identifier for the snapshot
2. **Size**: The total data size captured.
3. **Creation** Date: The date and time the snapshot was created.
* The platform will begin creating the snapshot immediately.
***
## Snapshot Details
* Once a snapshot is created, you’ll see it listed with the following information:
1. **UUID**: A unique identifier for the snapshot
2. **Size**: The total data size captured.
3. **Creation** Date: The date and time the snapshot was created.
 ***
## Manage Snapshots
You can use snapshots in several ways depending on your needs.
* **Restore**: Use the snapshot to return your VM to the exact state it was in when the snapshot was created.
* **Create New VM**: You can also create a new VM based on the snapshot with modified resources. Click the **+** icon next to the snapshot you want to use.
***
## Manage Snapshots
You can use snapshots in several ways depending on your needs.
* **Restore**: Use the snapshot to return your VM to the exact state it was in when the snapshot was created.
* **Create New VM**: You can also create a new VM based on the snapshot with modified resources. Click the **+** icon next to the snapshot you want to use.
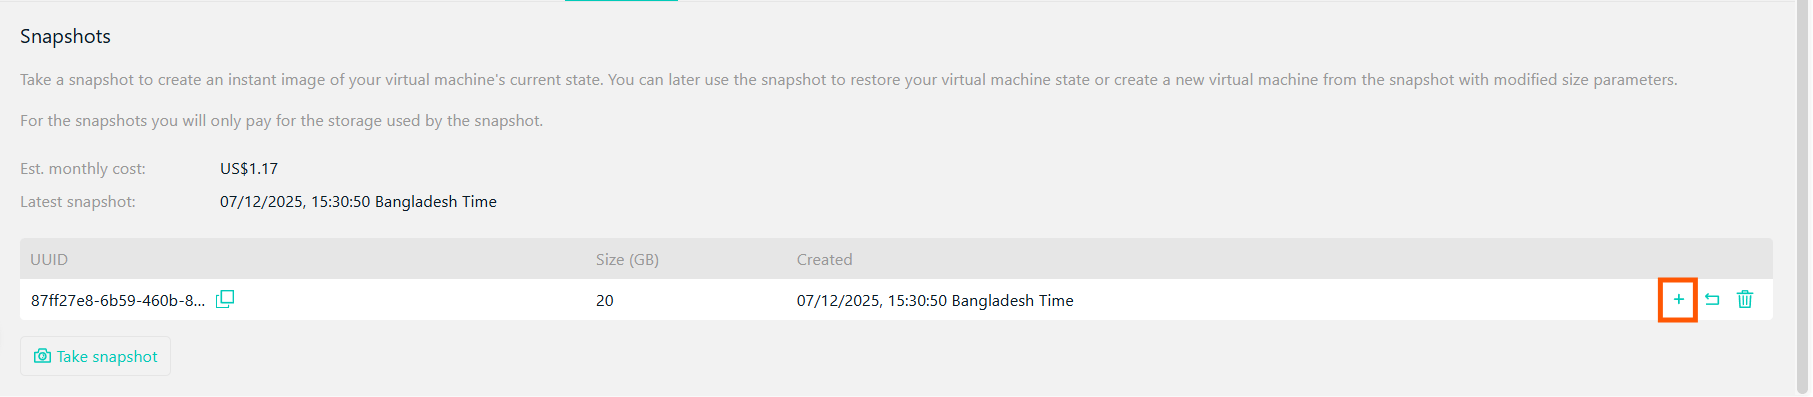 After creating a VM from a snapshot, you can reconfigure the VM by modifying its resources and settings.
* **Delete**: If a snapshot is no longer needed, click the **trash icon** to delete it permanently.
After creating a VM from a snapshot, you can reconfigure the VM by modifying its resources and settings.
* **Delete**: If a snapshot is no longer needed, click the **trash icon** to delete it permanently.